Working with tables and tabs
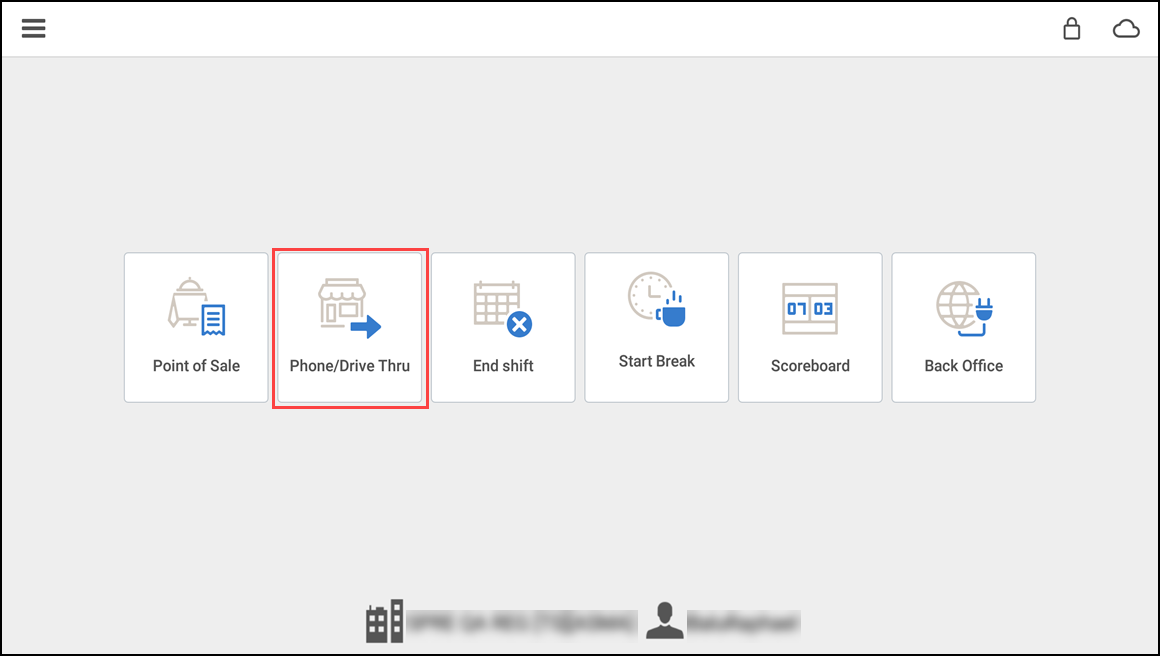
After you log in to the POS device (only in Table Service mode), tap Point of Sale. The floor plan of your restaurant appears. Use the floor plan to seat customers at a table and enter orders. You can also move customers from one table to another, from a table to a tab, and from a tab to a table.
- Use ADD TAB to start a tab for a customer, such as in a bar environment, without seating a customer at a table.
- Use Sort by on the TABS screen to sort tabs by name or time. Name sorts orders A-Z according to first name, and Time sorts orders from oldest to newest.
- Use Quick Mode to quickly enter customer orders and take payment from the customer.
For more information regarding tables and tabs, refer to Introducing Table Service.
This document discusses the following:
Adding seats to a table
You can add additional seats to a guest check. For example, if a party of five is sat at a four-top table, add one more seat for the fifth guest.
To add seats to a table:
- Log in to the POS.
- Tap Point of Sale.
- Tap the hamburger menu icon to see a slide out menu.
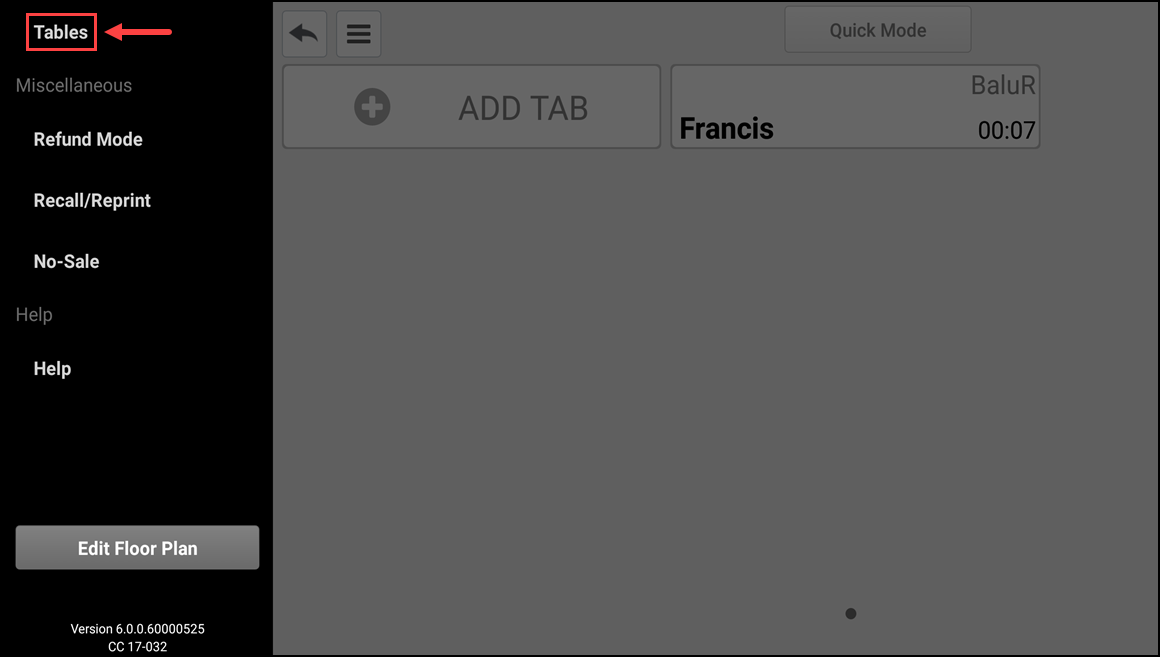
- Tap Tables.
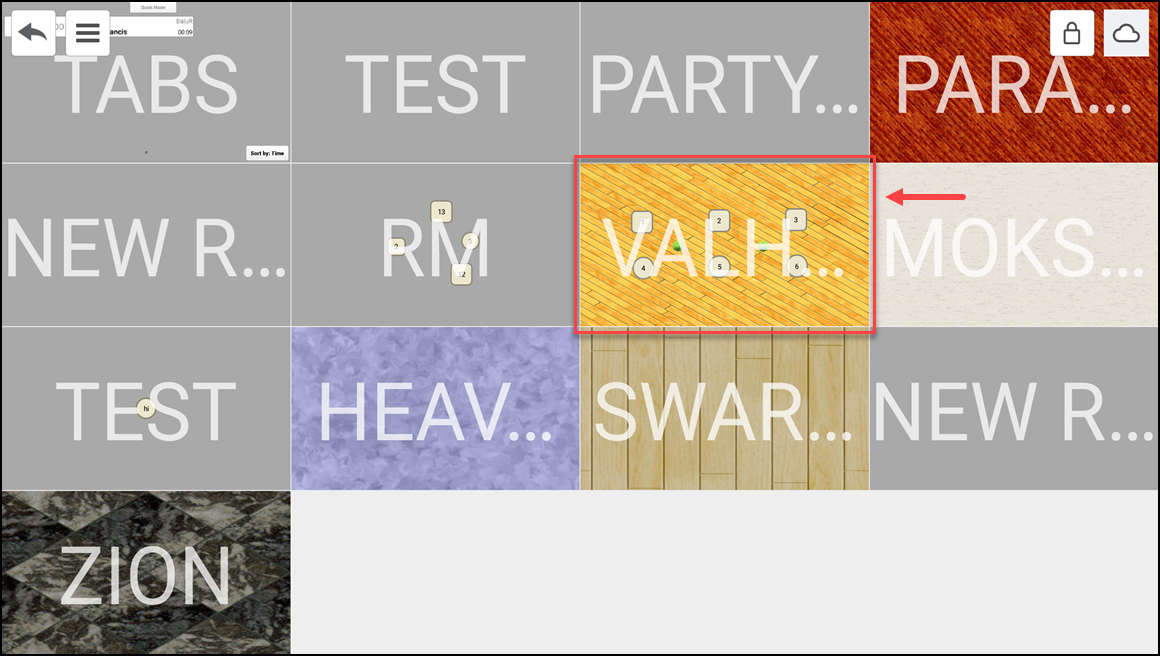
- Select the desired room.
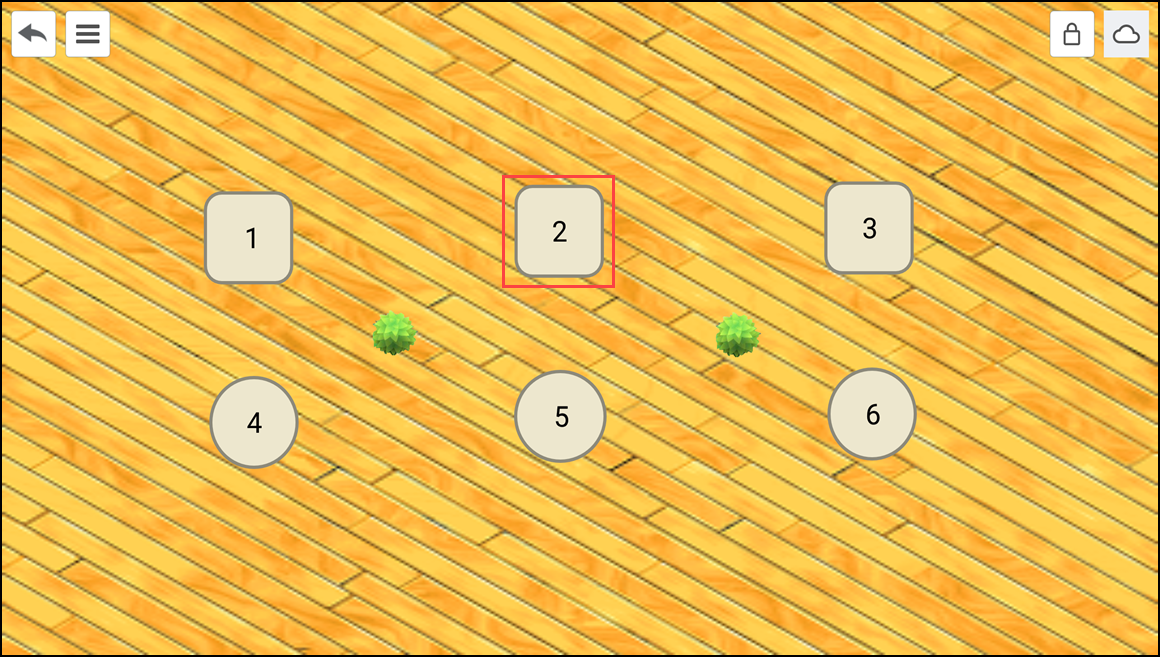
- Tap the table to which you want to add another seat.The order entry screen appears.
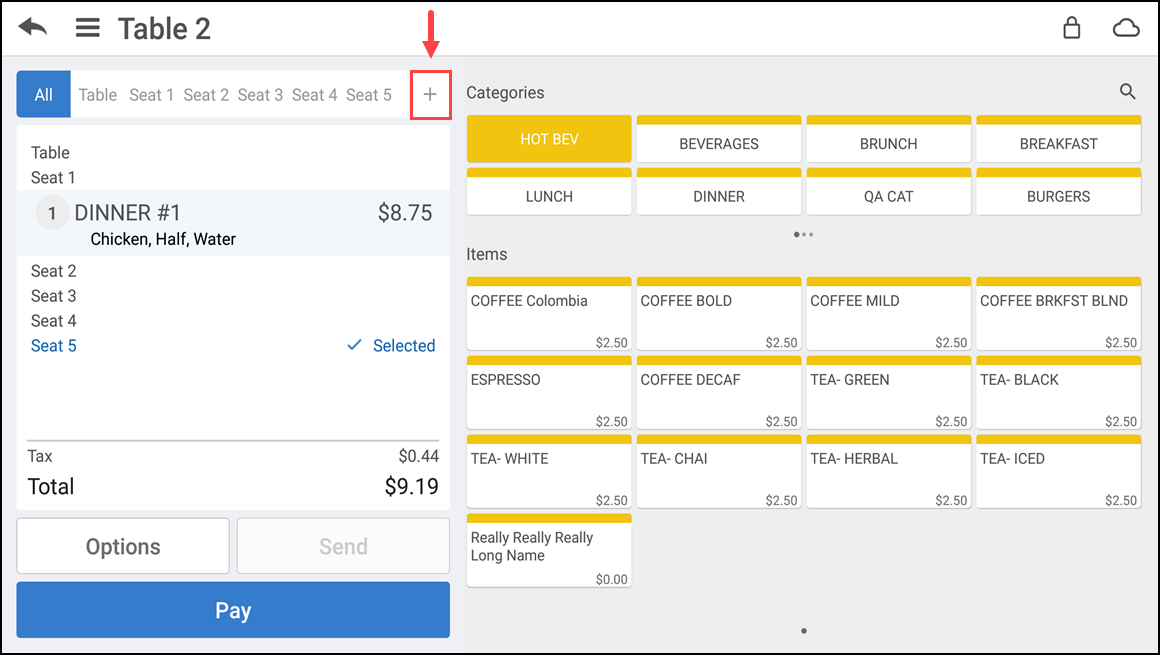
- Tap the plus icon to add a seat to the table.
Starting a guest check as a tab
By using ADD TAB to start a tab for a customer, such as in a bar environment, without seating a customer at a table. Use ' Sort by' on the TABS screen to sort tabs by name or time. Name sorts tab orders A-Z according to first name, and Time sorts orders from oldest to newest.
To start a guest check as a tab:
-
Log in to the POS.
-
Tap Point of Sale.
-
Tap the hamburger menu icon to see a slide out menu.
-
Tap Tabs or tap the room labeled TABS.
-
Tap ADD TAB.
-
Enter the items for the order.
Note: When you finalize the order, a prompt to assign a customer to the ticket appears.
Auto assigning a tab
You can instantly open and name tabs using the customer's card on the dedicated tab screen. This automatically generates a tab with the cardholder's name, minimizing manual inputs and ensuring accuracy.
Note: This feature is only supported for Table Service using the Connected Payments Gateway processor.
To auto assign a tab:
-
Log in to the POS.
-
Tap Point of Sale.
-
Tap the hamburger menu icon to see a slide out menu.
-
Tap Tabs or tap the room labeled TABS.
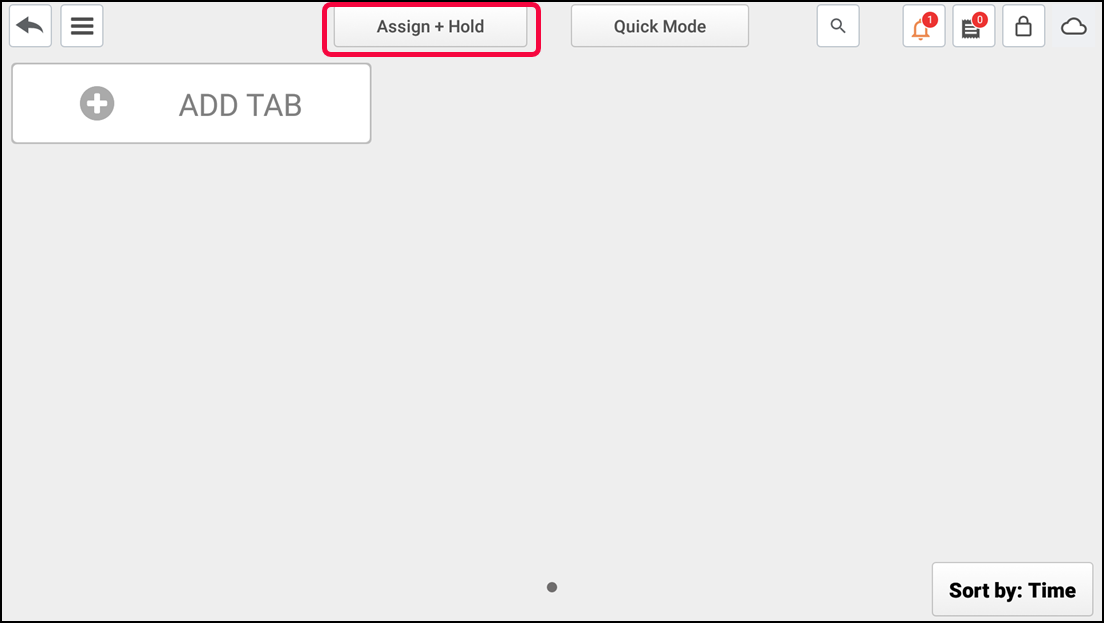
-
Tap Assign + Hold.
The order entry screen with Payment Progress pop-up window appears.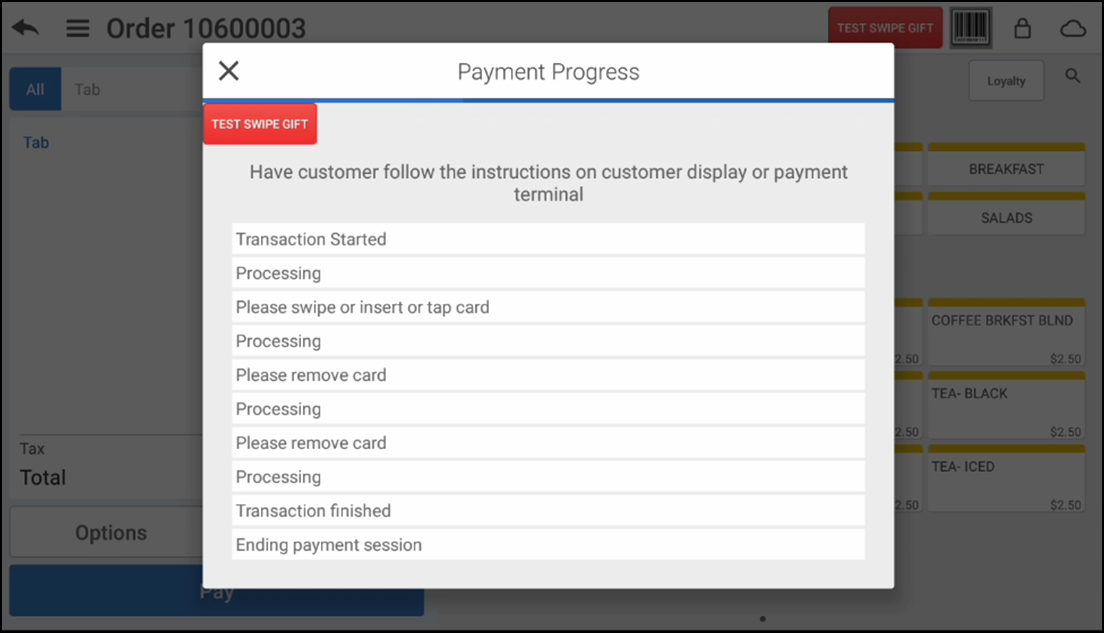
-
Swipe/Tap/Insert Card to save customer card information.
Note: Swiping a card holds the customer card details and assigns the card to the tab/order but the order name does not change. Tapping or inserting a card holds the customer card details, assigns the card to the tab/order and the order name changes to use the cardholder's name.
-
Enter the items for the order.
-
Tap Pay to access the payment types.
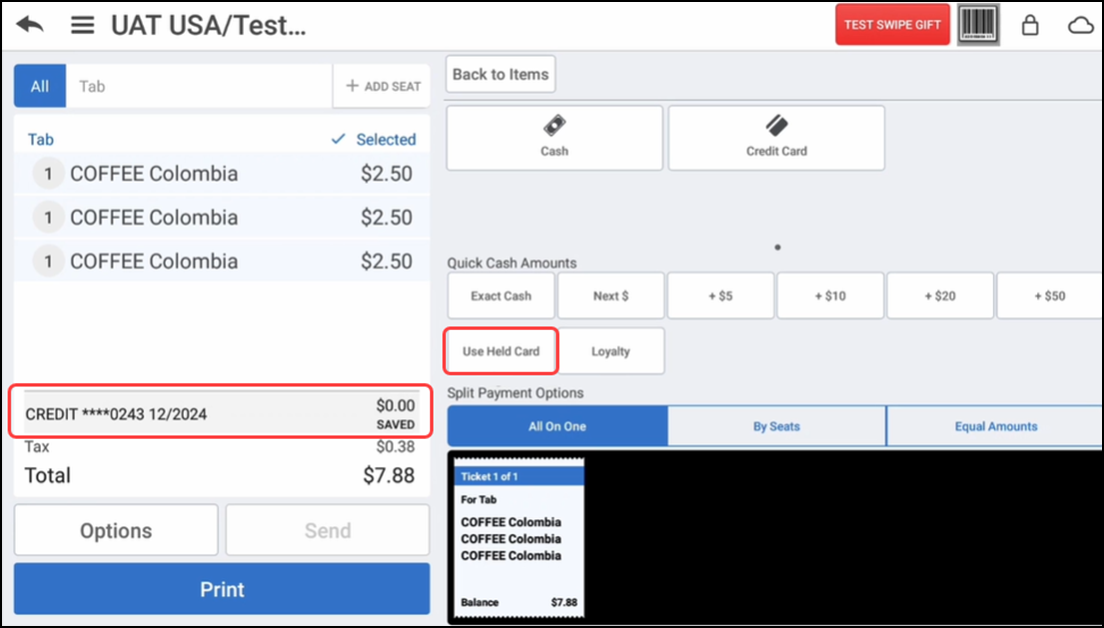
-
Tap Use Held Card to proceed with the payment and close the ticket.
See also:
Looking for resources or help with Silver? Click here.