Priority exclusions
During a transaction, the system evaluates all eligible promotions and applies the high-priority promotion first. Once the high-priority promotion is applied, the system checks for the possibility of stacking additional (low-level) promotions. Lower-priority promotions may also be included, as long as they do not conflict with the high-priority promotion.
Promotion priority grid
The promotion priority grid displays a list of priorities sorted from highest to lowest order. You can manage the priorities within the grid by following these steps.
-
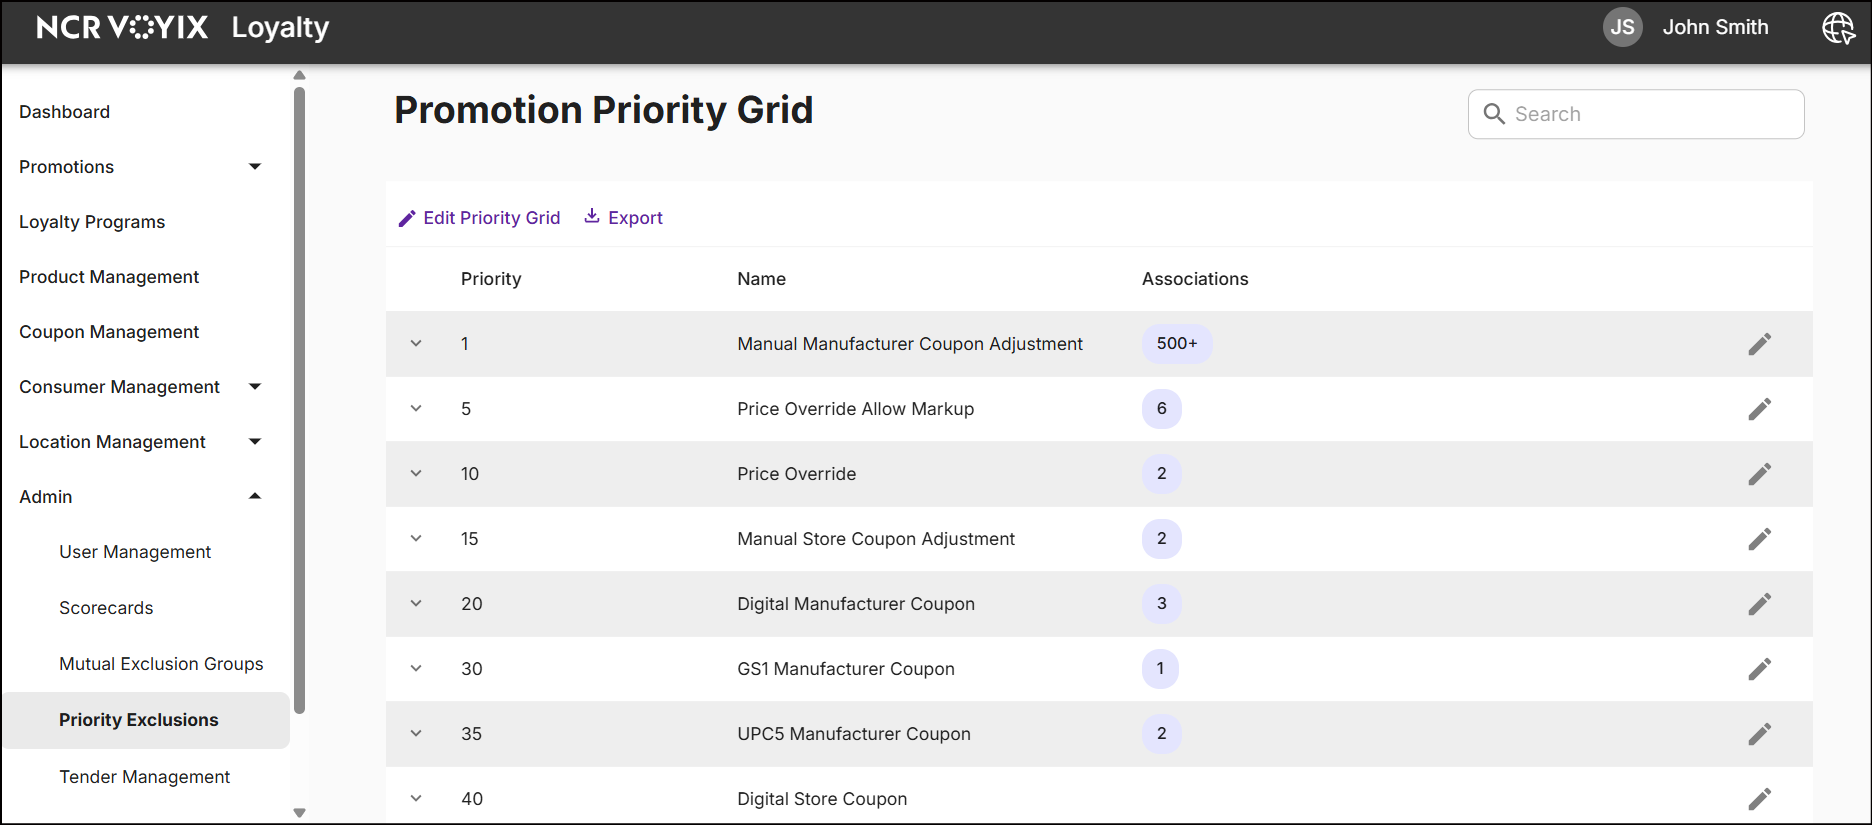
On the left navigation panel, expand Admin and select Priority Exclusions. The following screen appears:
-
The Promotion Priority Grid displays the current priority configuration set by the retail organization. It includes a Priority Value, Name, Associations, and an Edit icon.
- Priority: A numerical indicator of the priority level, where '1' represents the high priority and '5' the lowest priority in relation to '1'.
- Name: The designated name assigned to the priority.
- Associations: A list of promotions associated to the priority.
- Edit icon: To modify both system-level and custom-defined priorities, and to view associated promotions.
-
In the Search bar, type a name or priority value to search for priorities.
-
Click Edit Priority Grid to add a new priority, remove an existing priority, or insert a priority between two existing priorities.
-
Click Export to download and view the priorities. The file will be downloaded in JSON format, which you can open using a text editor.
-
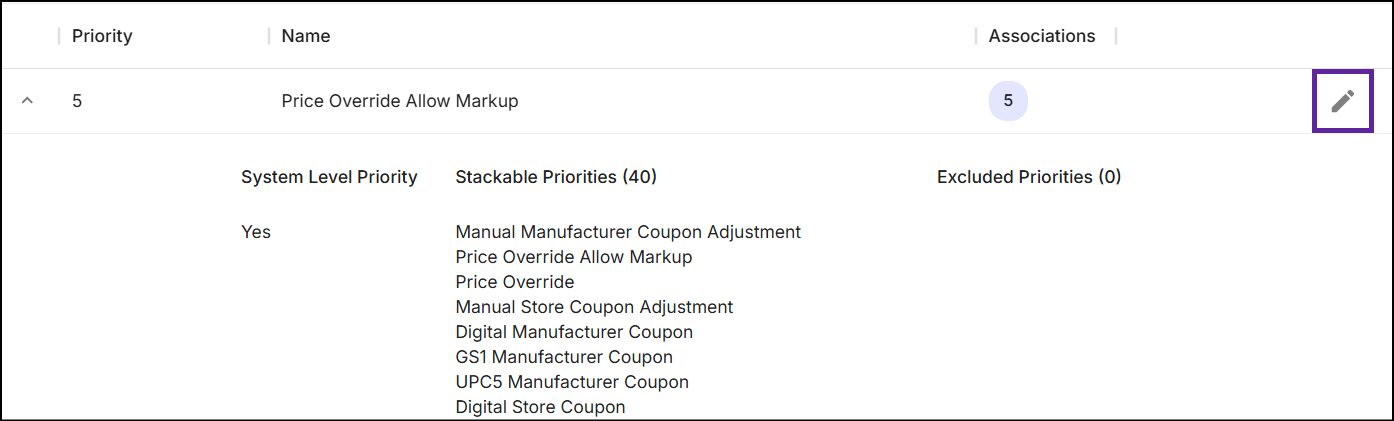
Expand any priority to see the list of 'Stackable' and 'Excluded' priorities. Additionally, you can confirm whether the priority is a system-level priority or a custom-defined priority.
-
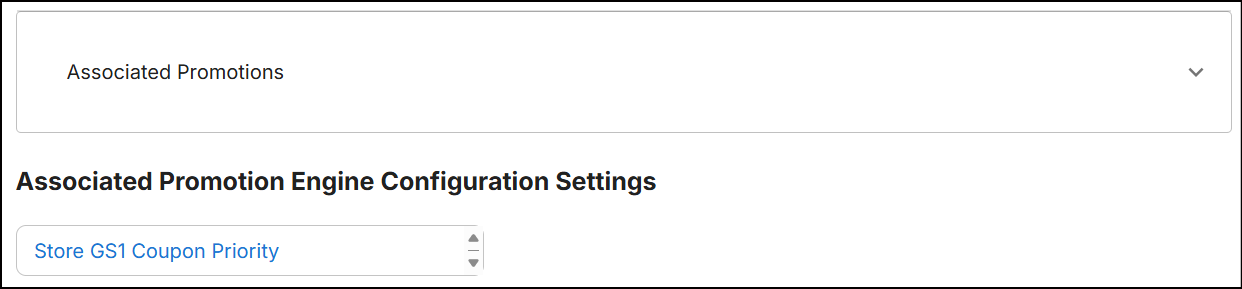
Click the Edit icon, then scroll to the bottom of the screen to view the associated promotions and promotion engine configuration settings.
Add new priority
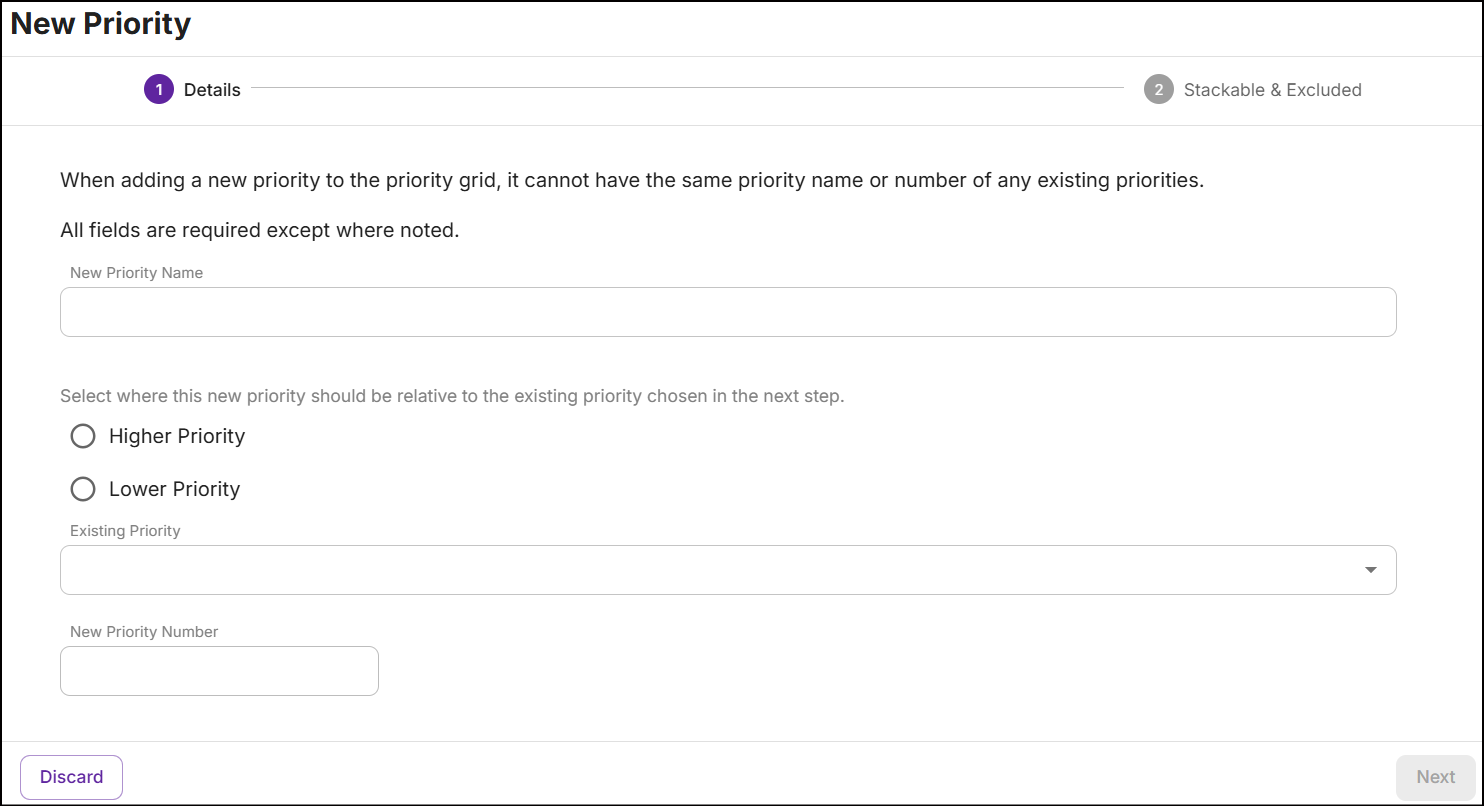
To add a new priority in the grid, ensure that it has a unique name that does not replicate any existing priorities.
In the promotion priority grid, click Edit Priority Grid and select Add Priority. The New Priority screen appears:
Details
-
In the New Priority Name text box, type the name of the priority.

-
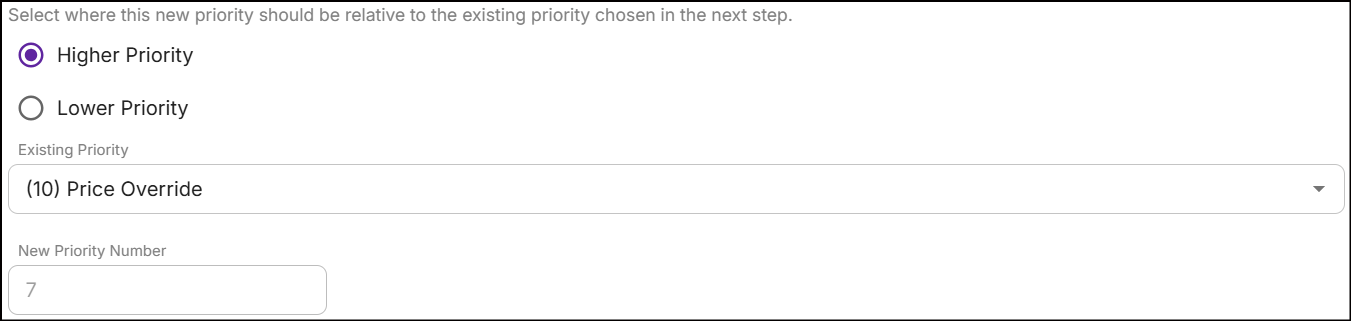
Select the priority type. This determines how the new priority ranks in comparison to an existing priority.

-
Choose an Existing Priority from the drop-down. This serves as a reference point for the system to determine the placement of the new priority. Based on this selection and the priority type (Higher or Lower), the system automatically assigns the new priority number.
For example:
-
If you select 'Higher Priority' and '(10) Price Override' as an existing priority, the system will assign a new priority number between 5 and 10 to the new priority. Typically, the new priority will take precedence over the 'Price Override' priority.
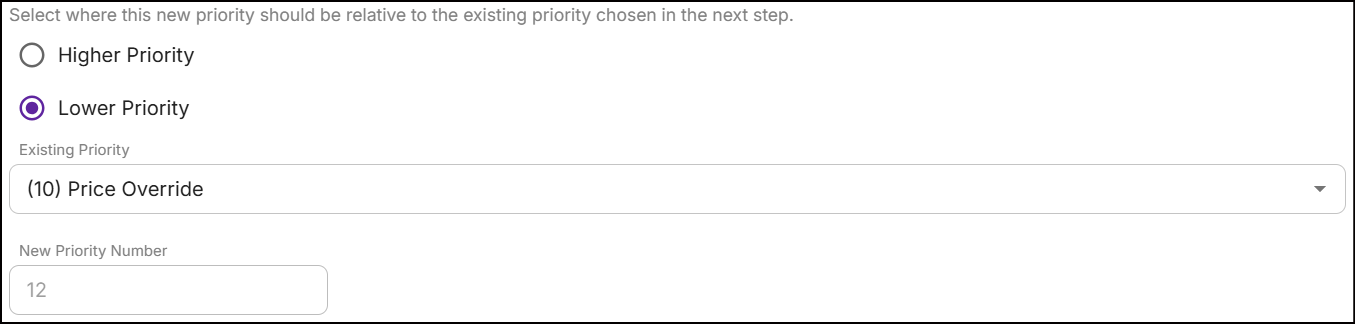
-
If you select 'Lower Priority' and '(10) Price Override' as an existing priority, the system will assign a new priority number between 10 and 15 to the new priority. The new priority will be positioned after the 'Price Override' priority.
-
The system determines the exact priority number based on the priority structure.
-
-
Enable the System Level Priority to set the new priority as part of the system.
Stackable and excluded
Stackable Priorities: Stackable priorities are both high and low-level priorities in relation to a new priority. By default, all low-level priorities in relation to a new priority are stackable and are not available for exclusion.
Excluded Priorities: High-level priorities that are excluded from the stackable priorities list.
-
To search for stackable or excluded priorities, type the priority name or number in the search box.
-
By default, stackable priorities are displayed on the left table. To exclude priorites, select the priorities from the Stackable Priorities list and click the > button.

-
To reintegrate the excluded priorities into the stackable priorities, select the desired priority from the Excluded Priorities list in the right table and click the < icon.
-
Click Save. The priority is then displayed as 'staged' in the Edit Priority Grid.
-
Click Save Changes. A message 'Priority grid successfully updated' is displayed on the Promotion Priority Grid.
Button navigations
When you are in the Details or Stackable and Excluded sections, the buttons at the bottom of the screen perform the following functions:
-
Click Discard. The following pop-up will appear:
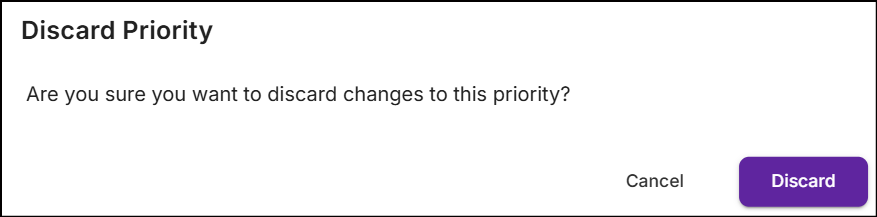
Click discard to dismiss any changes made to the priority.
-
Click Next to proceed to the Stackable and Excluded section.
-
Click Back to move to the Details section.
Edit priority
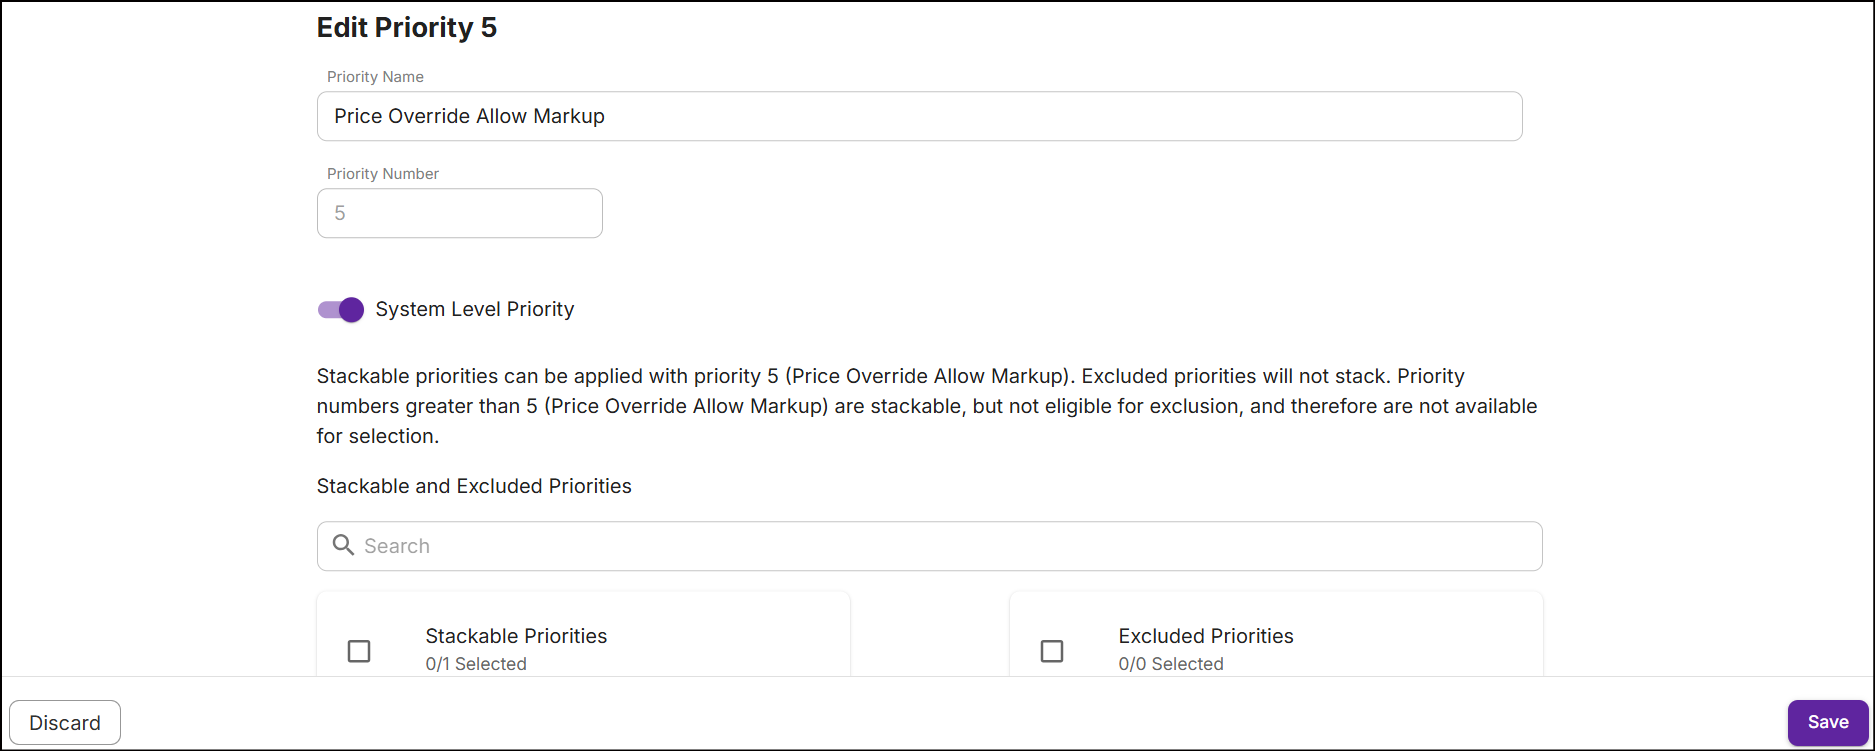
Both system-level and custom-defined priorities can be edited, except for the priority number, which cannot be modified.
-
In the Promotion Priority Grid, click the Edit Icon for any priority to see the following screen:
-
After you modify the priority, click Save. A message 'Priority successfully updated' is displayed on the Promotion Priority Grid.
Delete priority
Priorities that are not system-level and have no associations with promotions can be deleted.
-
In the Promotion Priority Grid, click Edit Priority Grid to view the priorities.
-
To delete priorities that are not associated with promotions, click the Trash icon and then Save changes.
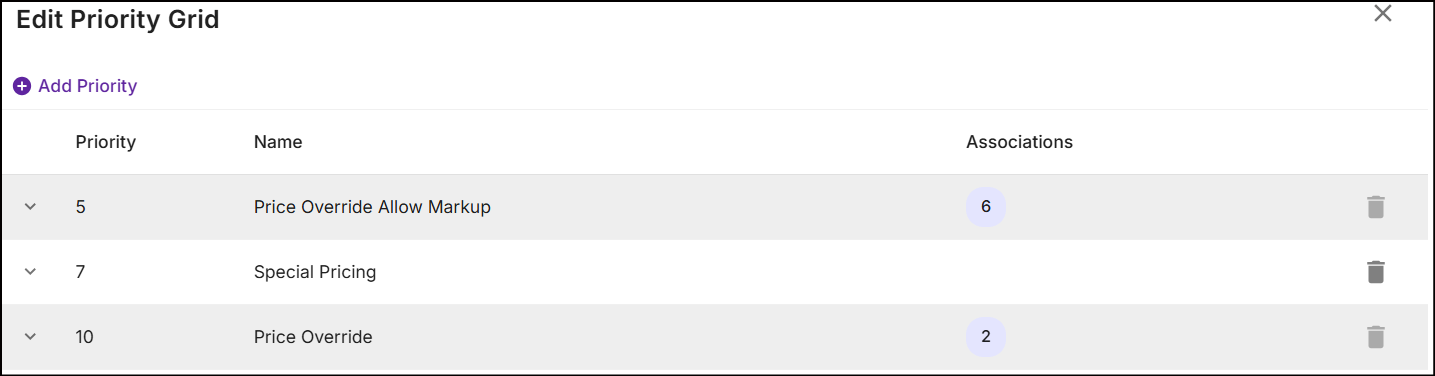
If you hover over the trash icon for custom-defined priorities associated to promotions, the following tooltip will appear:

If you hover over the trash icon for system-level priorities, the following tooltip will appear:
