Promotion templates
Promotion templates are customizable templates that comes with partially filled data, enabling you to quickly create premeditated or standard promotions when needed. There are two types of templates:
Custom: A template designed by the user (System and Business Admin personas only).
Pre-defined: A template that is already available within the application as default.
Note: The system and business administrator have the capability to execute all CRUD (Create, Read, Update, Delete) operations for a custom template. The marketing persona is limited to utilizing the custom template for the purpose of creating promotions.
-
On the left navigation panel, expand Promotions and click on Promotion Templates. The following screen appears:
-
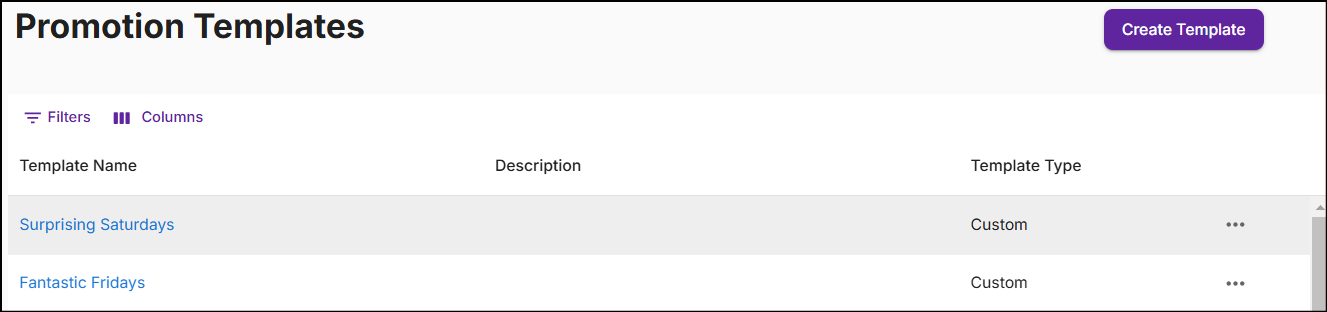
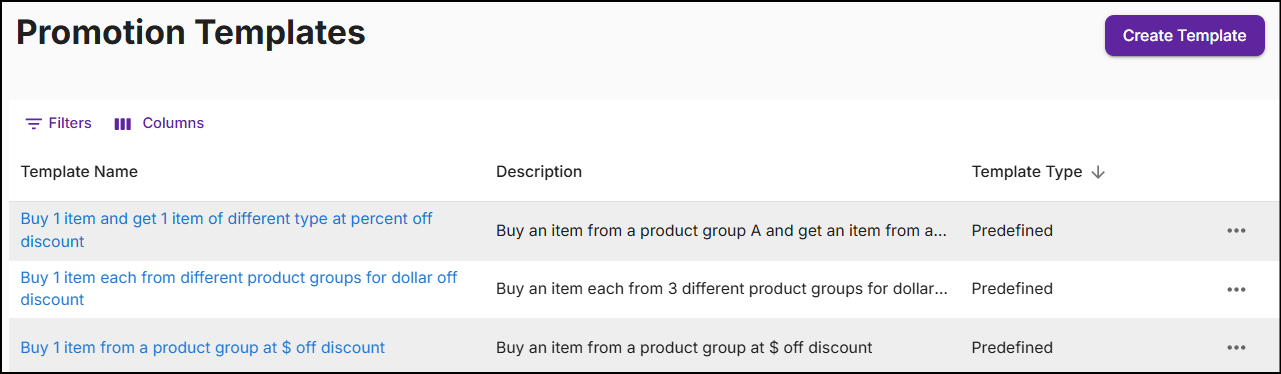
The Promotion Templates screen displays Template name, Description, Template Type, Ellipsis, and an option to create a new template.
- Template Name: The name of the promotion template.
- Description: An overview of the promotion's details.
- Template Type: Differentiates between custom and pre-defined templates.
- Ellipsis: Options to copy, edit, or delete the template.
-
Click the Filters icon to search for templates. Click the Columns icon to customize, reorder, or adjust the columns. Click here to learn more.
-
Click on the custom or pre-defined Template Name to create a promotion.
Note: If you choose to discard the promotion while using the template to create it, the drafts will not be saved.
Create a custom promotion template
The flow of creating the template is similar to the process of creating the promotion. To create a personalized standard template, the steps are as follows:
-
From the Promotion Templates screen, click Create Template in the top right corner. A New Template screen appears:
-
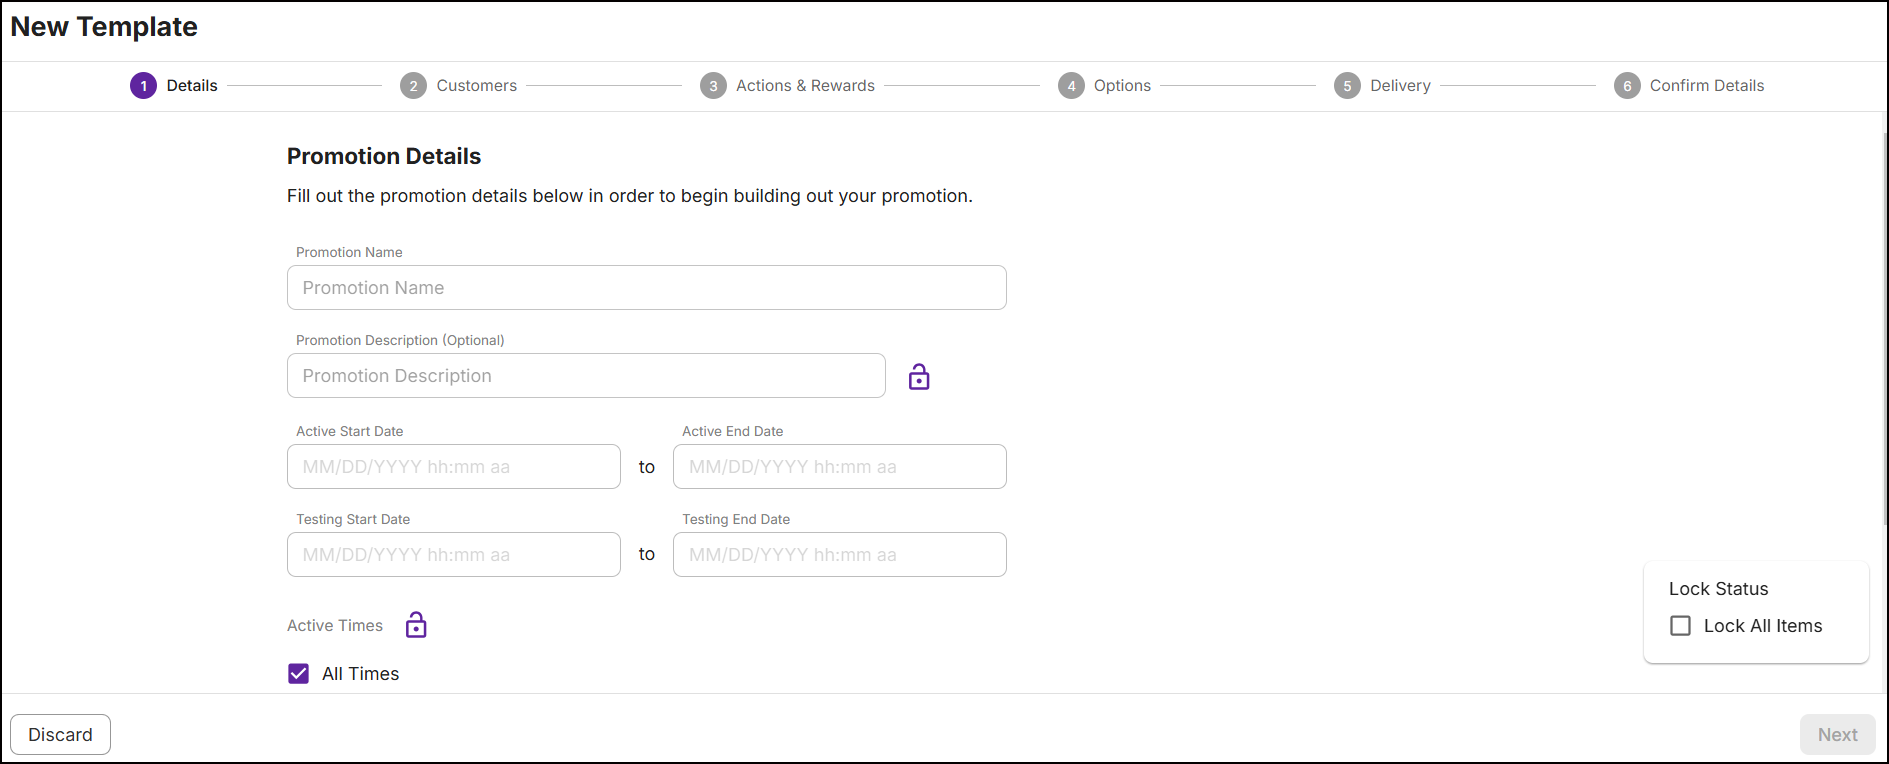
All fields in the promotion template are fully editable, allowing you to fill them in or leave them blank as needed. However, it is mandatory to specify the promotion name in the Details section and define a product action in the Actions & Rewards section.
Note: The Active and Testing start and end dates, and the trigger code, will be disabled when creating the template. These fields can only be filled in when you create a promotion using the template.
-
Fill in the information in other sections of the template like you would when creating a promotion.
Locking fields on template
This option allows you to lock the values entered in the fields, thereby preventing any modifications to the data in the fields while a user creates a promotion using the template.
A lock option is displayed beside the fields in all sections of the template. Lock individual fields of your choice or all fields by selecting the Lock All Items option located at the bottom right corner of each section. The Lock All Items checkbox on each page stays disabled until all locks are activated.
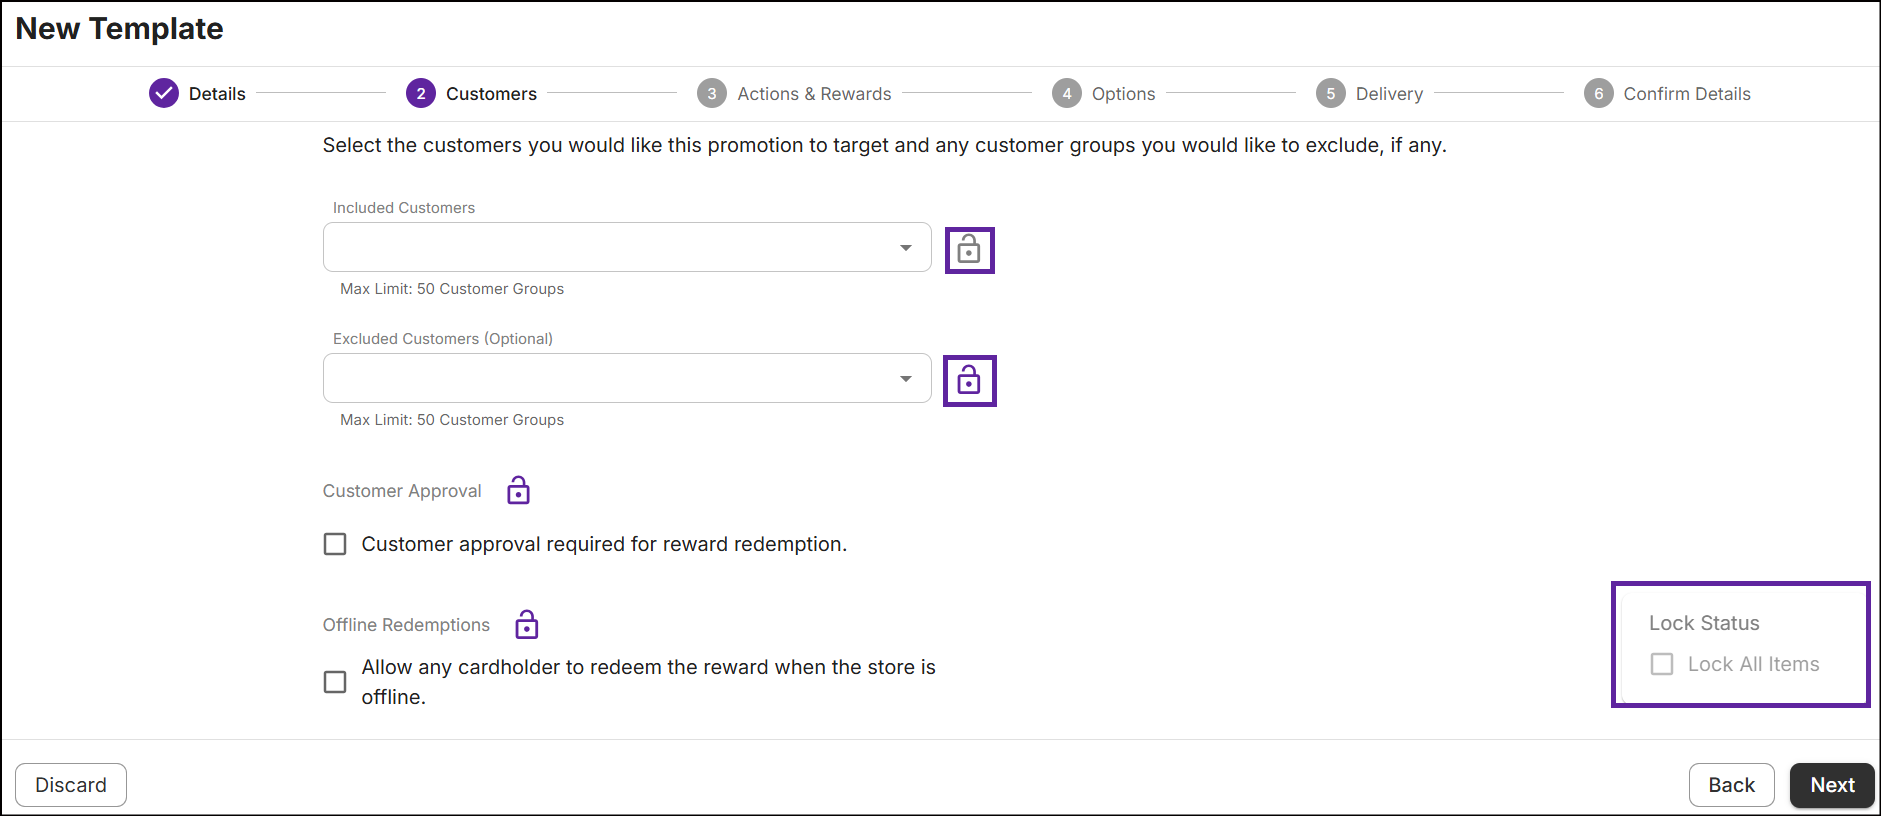
The locks for all the fields (except optional fields) will remain deactivated until the fields are filled in with valid text or selections. This is also valid for areas where multiple fields can be locked with a single lock button (Actions & Rewards).
To edit locked fields, the locks have to be deactivated first.
The status of the locking for all fields will be visible in the Confirm Details section.
Copy custom template
All custom templates can be copied to create a new template.
-
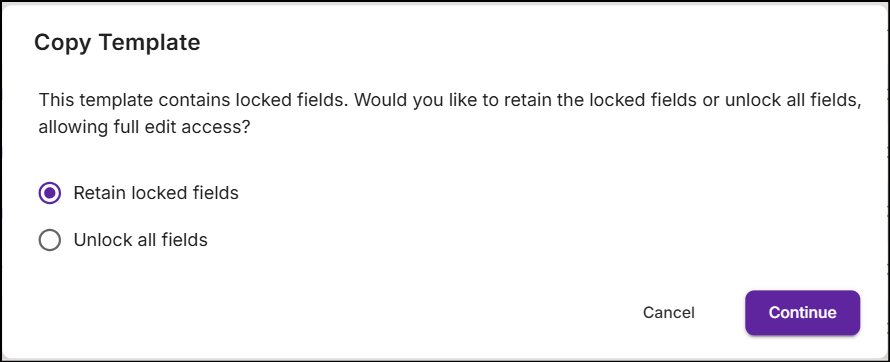
From the Promotion Templates screen, search for the custom template, tap on Ellipsis and then select Copy Template. The following pop-up will appear:
-
To copy the template with either all fields unlocked and editable or with locked fields preserved, choose the preferred option and then click Continue. A new template will be created, including all copied information from the current one.
Edit custom template
From the Promotion Templates screen, search for the custom template, tap on the Ellipsis, and then select Edit Template to make changes to the template. The following screen will appear:

Note: Modifications in the template do not reflect in any promotions that have already been created using this template.
Delete custom template
From the Promotion Templates screen, search for the custom template, tap on the Ellipsis, and then select Delete Template. The following pop-up will appear:
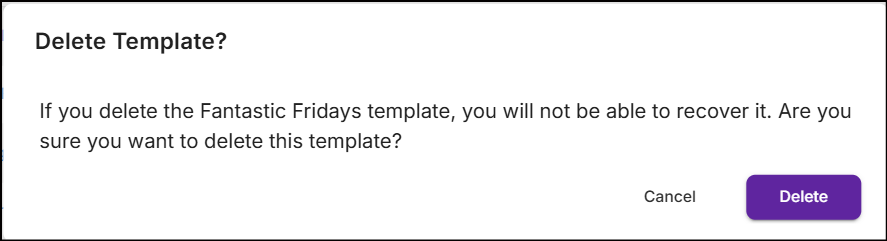
Click Delete. A message 'Successfully deleted promotion template' is displayed.
Note: Deleting the custom template will not impact the promotions created using that template.
Create a promotion using the custom template
Create a promotion using the template like you create a new promotion. All validations of a regular promotion flow are applicable here.
When you click on the Template Name, a new promotion screen will appear, displaying the template title along with prefilled information.
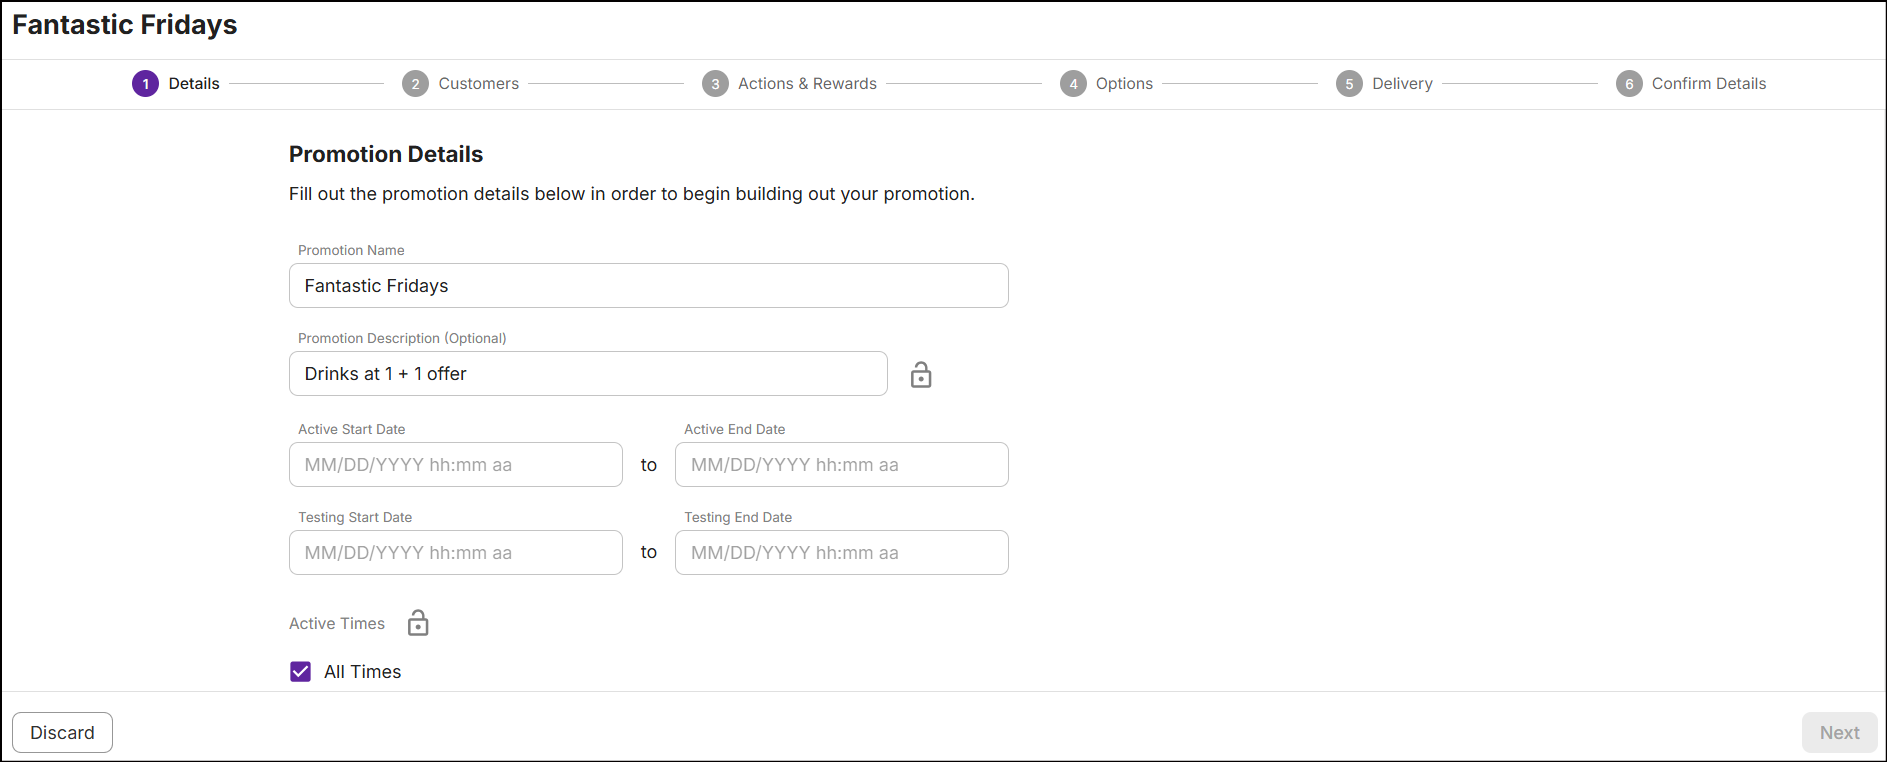
Note: You cannot edit locks while creating the promotion.
When one of the child fields in the template are locked, the parent fields are automatically disabled while creating the promotion.
Pre-defined templates
Pre-defined templates are designed stock templates that suit the most common promotions used by retailers. They can only be used and cannot be deleted or copied.
Click on the Template Name to initiate the creation of a promotion. The new promotion, defined from this template, will be displayed as follows:
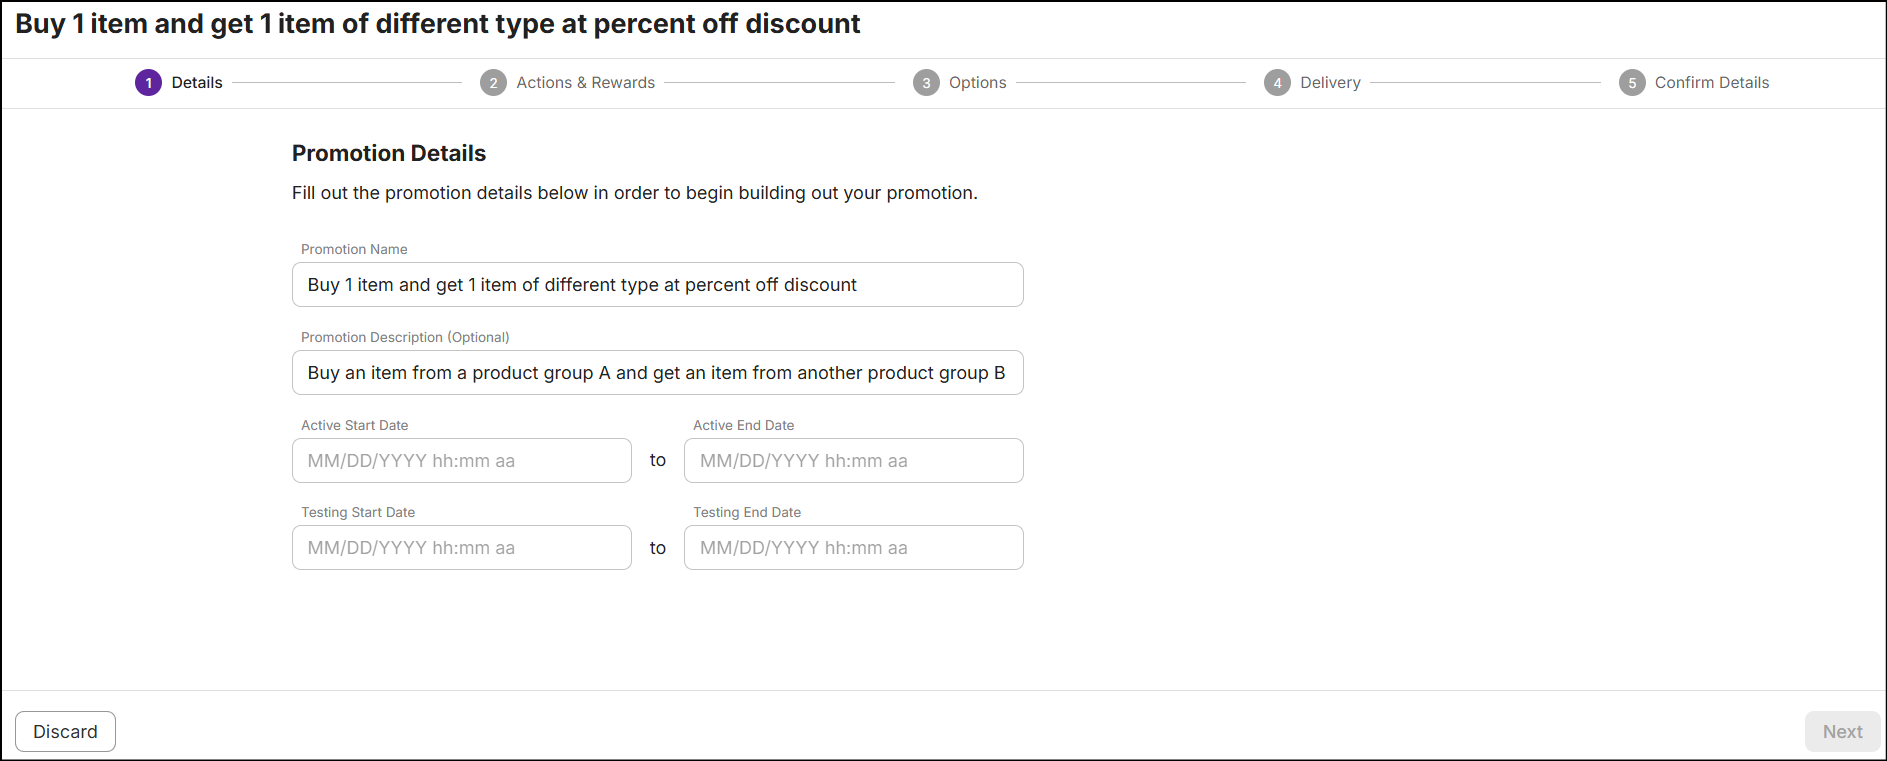
In this scenario, you cannot configure the customers section. As the promotions using pre-defined templates are accessible to all loyalty and non loyalty customers. However, promotions that are created using these templates can be modified later.