Working with employees
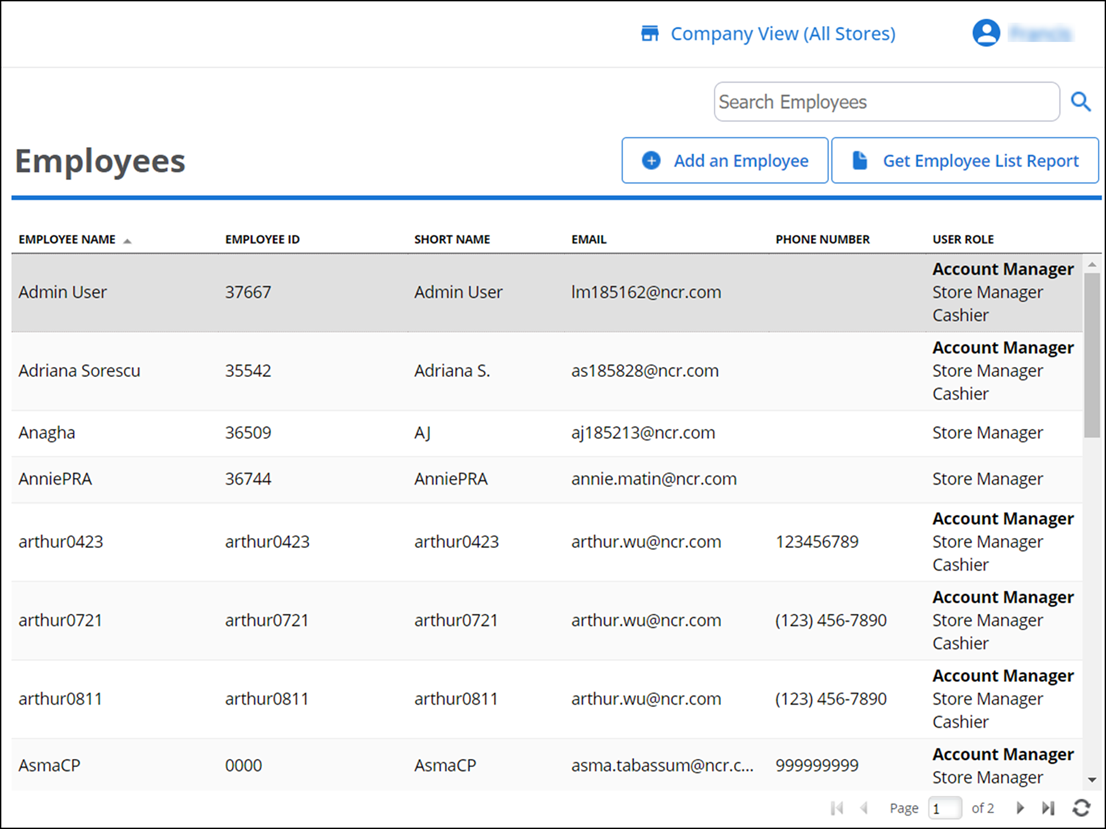
Use Employees > Employees to display a list of employees already added to your account. You are also able to add, update and remove employees, as well as search for employees based on criteria you specify, such as email address or phone number.
Adding an employee
To add an employee:
- Log in to Back Office using Company View (All Stores), or select a specific store to add an employee at the site level.
- Select Employees > Employees.
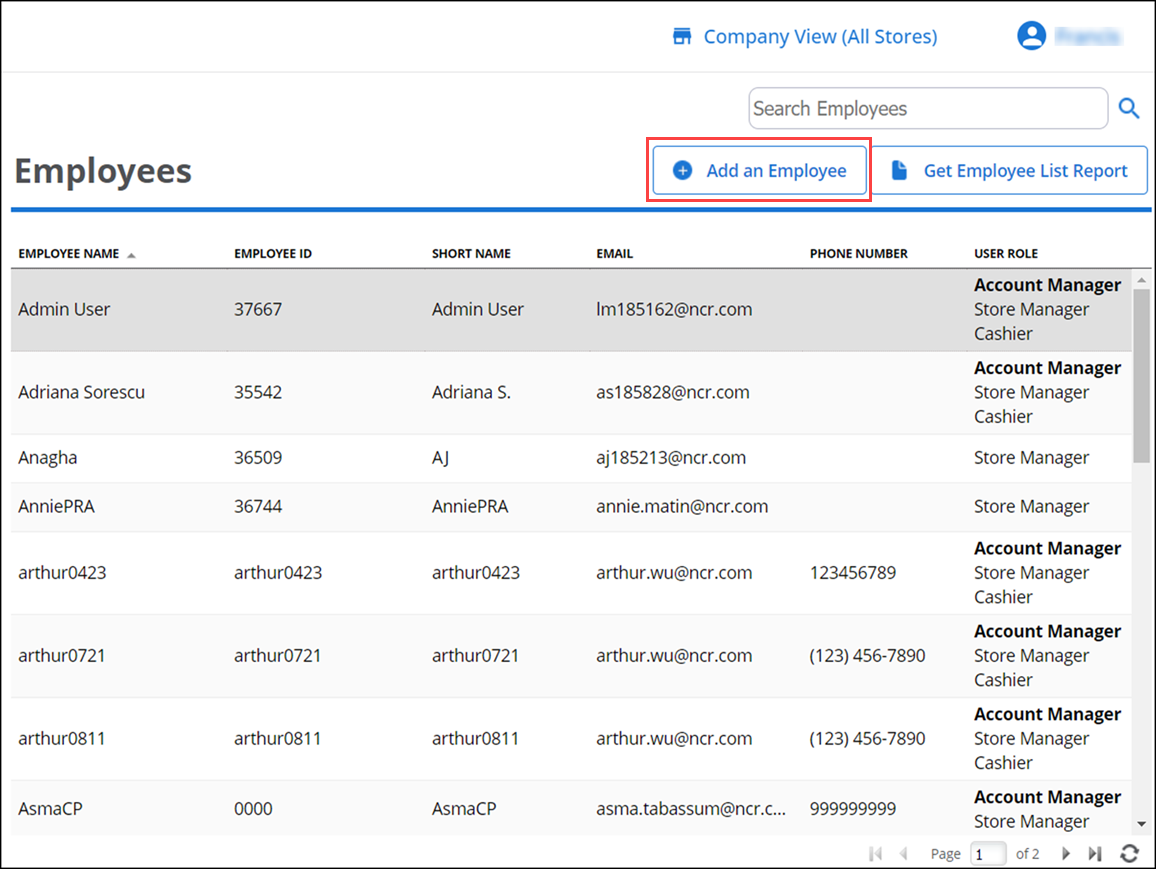
- Click Add an Employee.
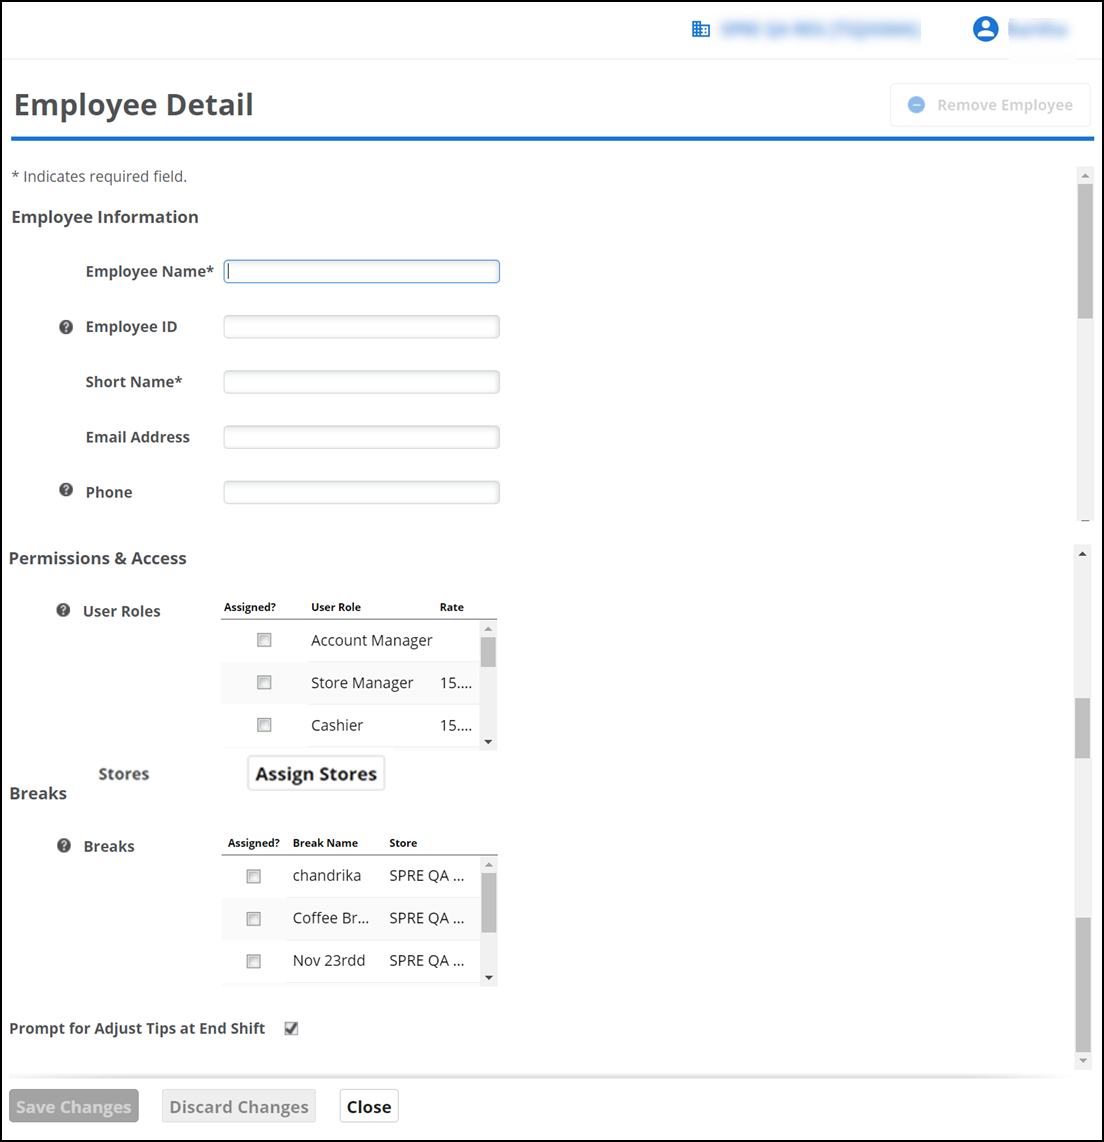
- Type the employee name.
- Type an employee ID or leave it blank to accept a system generated ID number.
- Type a short name for the employee. The short name appears on reports.
- Type an email address for the employee. This is required for employees needing access to Back Office.
- Type a phone number for the employee.
- Under the Permissions and Access group bar, select the appropriate user roles for the employee. Select all that apply. You must provide an employee with at least one user role.
- For multi-store environments, click Assign Stores and select the stores for which the employee will be working. You must assign at least one store to an employee.
- Under the Breaks group bar, select the required breaks and assign to an employee.
- Select Prompt for Adjust Tips at End Shift for the POS app to prompt the employee to adjust tips on credit card transactions when they end a shift. This option is enabled by default.
- Under the Login Credentials group bar, type a name, such as an email address for employees who will access Back Office.
- Create a unique four-digit PIN (4 to 10-digits PIN) for each employee who requires access to the POS app, even if only to clock in and out. Give the four-digit PIN to the employee.
- Type a password for Back Office and then type it again in Confirm Password to confirm.
- Click Save Changes.
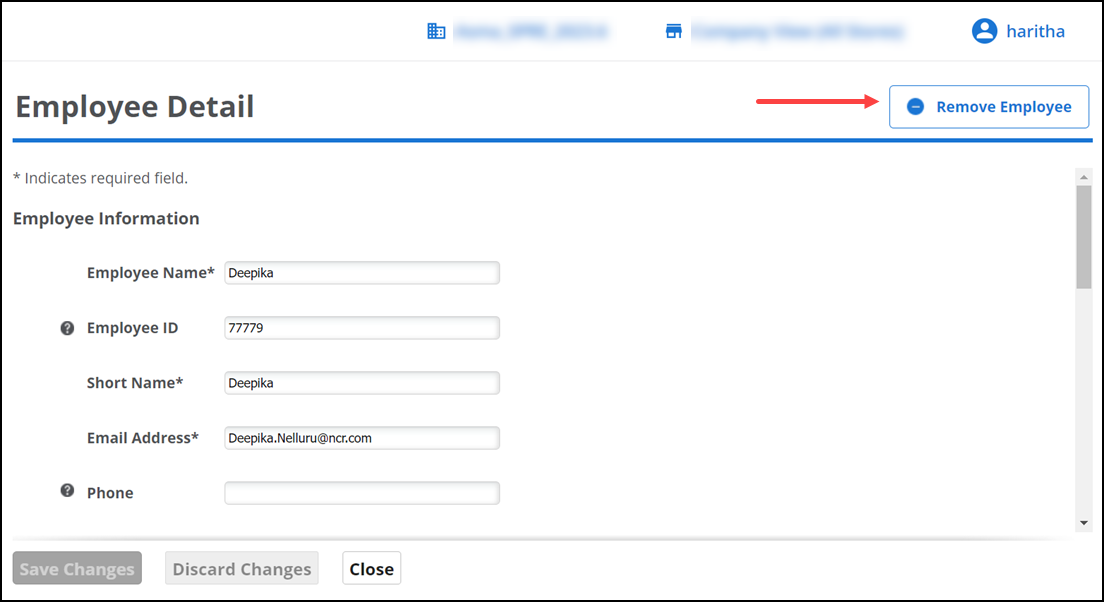
To remove an employee:
Removing an employee is a "soft delete". This means that although the employee is removed from your view, all the data and activity associated with that employee is still shown in reports, transactions, etc.
-
Log in to Back Office using Company View (All Stores), or select a specific store.
-
Select Employees > Employees.
-
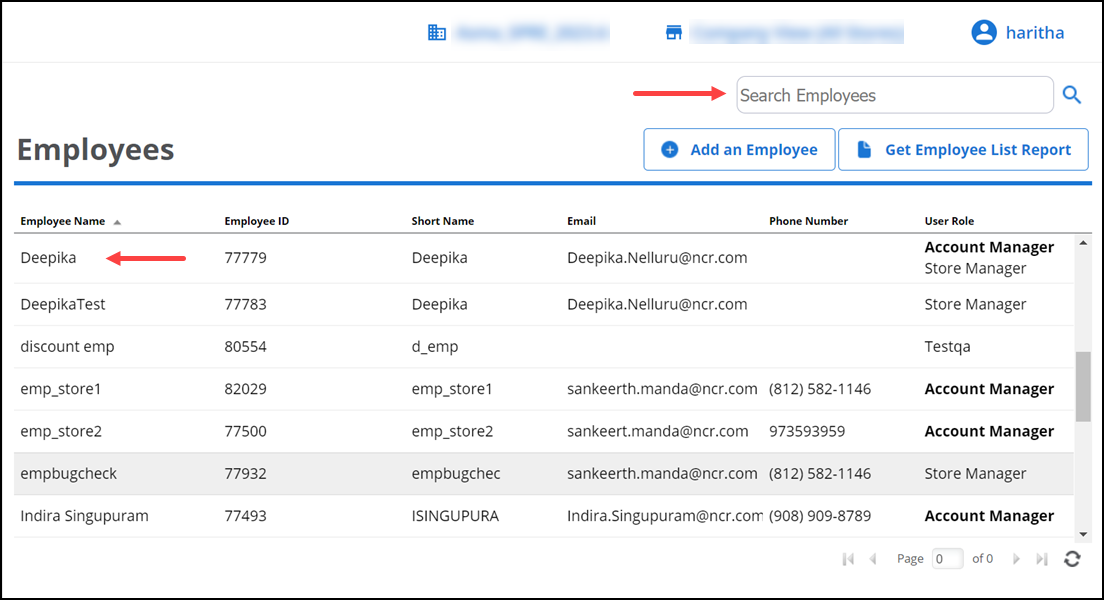
Scroll through the list of employees and click the row of the employee to remove or search for the employee.
-
Click Remove Employee near the top-right corner of the screen. A popup appears to confirm the removal.
-
Click OK to remove the employee. If the selected employee has any sales activity, the system lets you know, allowing you to determine if you want to continue with the removal.
-OR-
Click Cancel to keep the employee.
Changing an employee PIN
To change an employee PIN:
When an employee loses or forgets their POS login PIN, you can reset it for them.
- Log in to Back Office using Company View (All Stores), or select a specific store.
- Select Employees > Employees.
- Scroll through the list of employees and click the row of the employee for which to change the PIN or search for the employee.
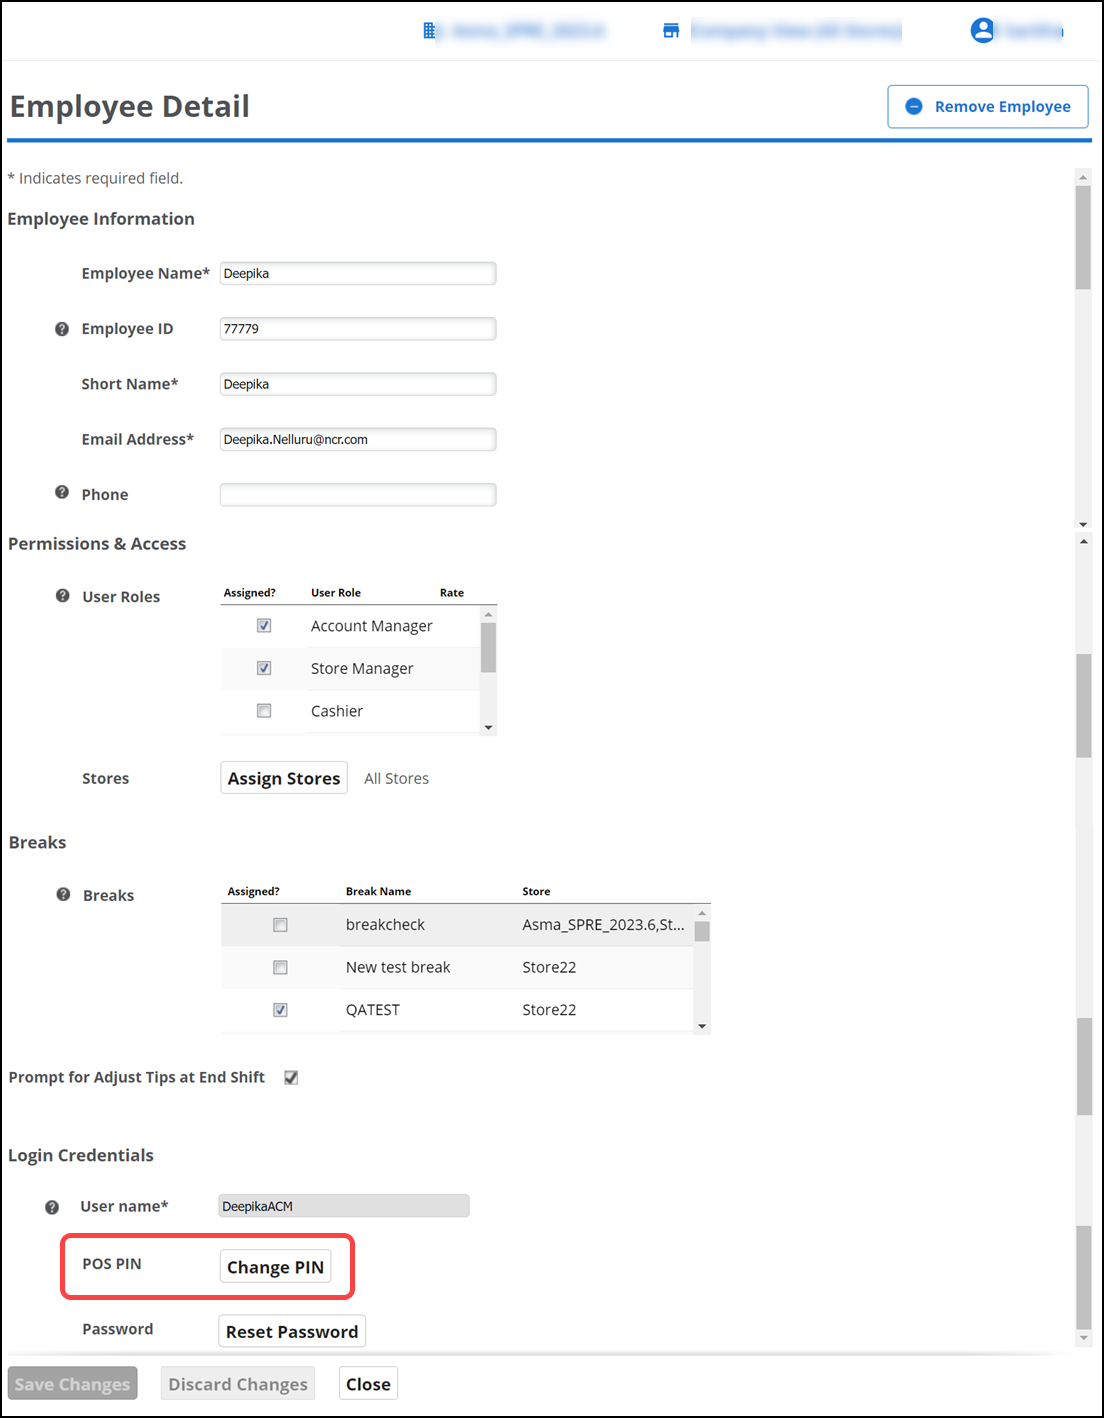
- Click Change PIN.
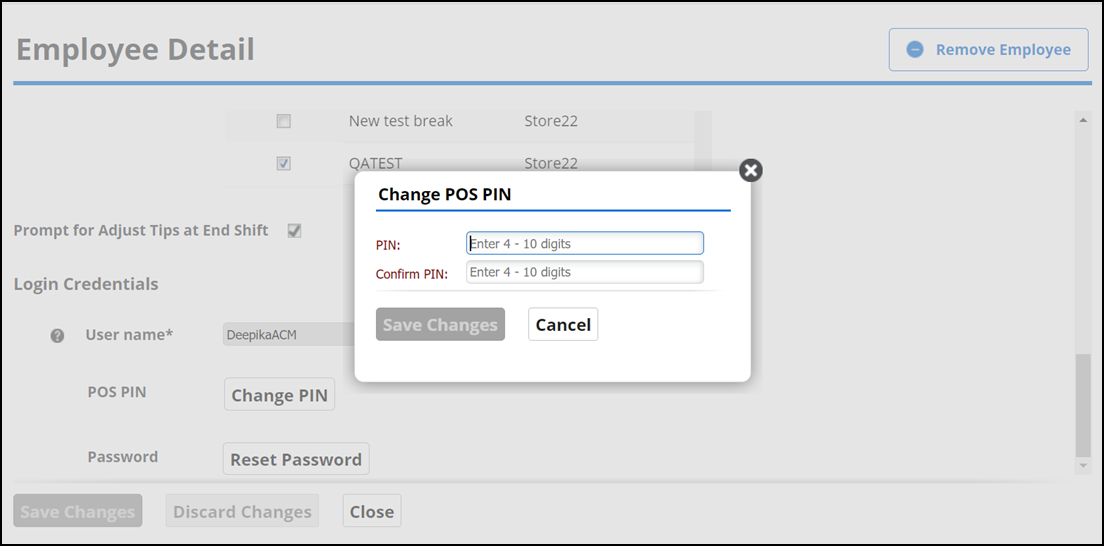
- Enter a new PIN for the employee, and then enter it again in Confirm PIN.
- Click Save Changes.
- Remember to give the new PIN to the employee.
Changing an employee password
To change an employee password:
- Log in to Back Office using Company View (All Stores), or select a specific store.
- Select Employees > Employees.
- Select the employee for which you want to change their password. The Employee Detail screen appears.
- Click Reset Password. The Reset Password screen prompt appears with the temporary password for the employee.
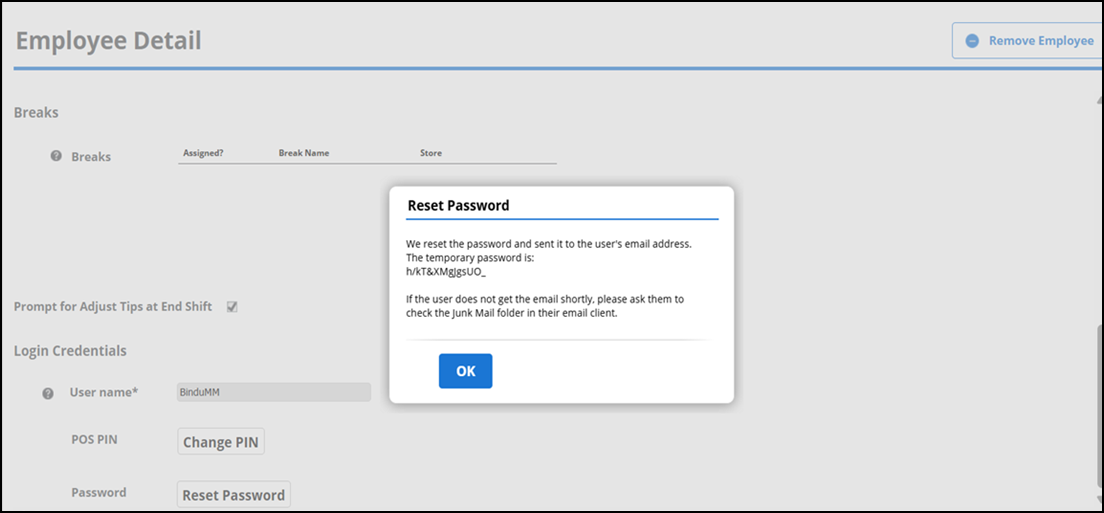 The system also emails the temporary password to the employee. When the employee logs in to Back Office with the temporary password, the system requires the employee to change their password.
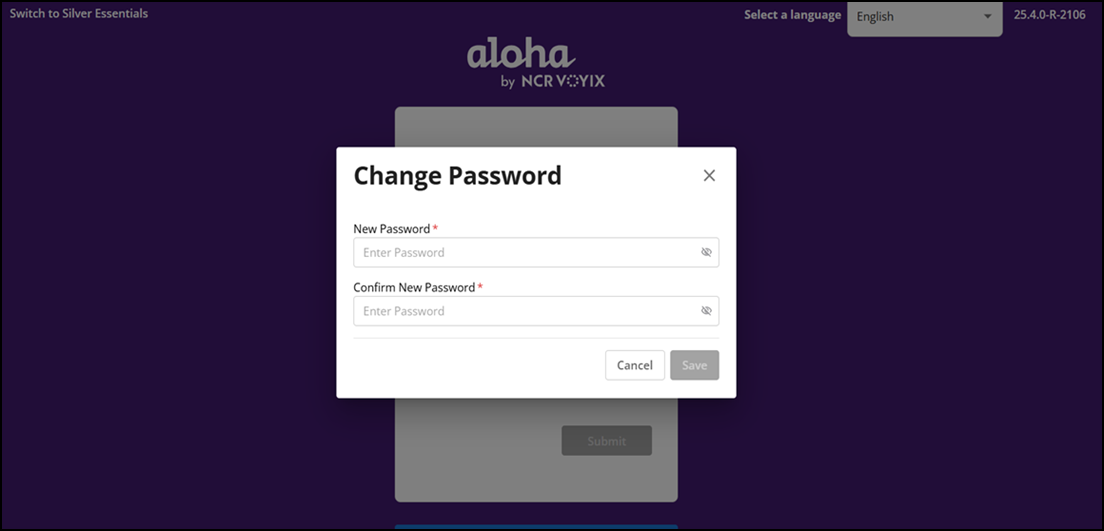
Viewing employee list report
For more information, refer to "Employee list report"
View video
Please allow time for the "Creating an Employee in Aloha Cloud" video to load.