Registering a device for the POS
For Aloha Cloud, we use multiple devices like PX10/PX15 as POS terminals, CX5 device as Kitchen Display Screen, Axium EX8000 as a Handheld POS terminal, printers etc; To use these devices along with Aloha Cloud application, you need to register the device at the initial stage.
To register a device:
-
Decide where you are going to locate the devices and ensure they have access to a power outlet.
-
Complete the proper setup steps for your restaurant POS system, including the in-store server and the setup of your kitchen stations in Back Office.
-
Connect the Android devices used for your POS and Kitchen to your secure wireless network.
-
Open the app and begin the setup steps.
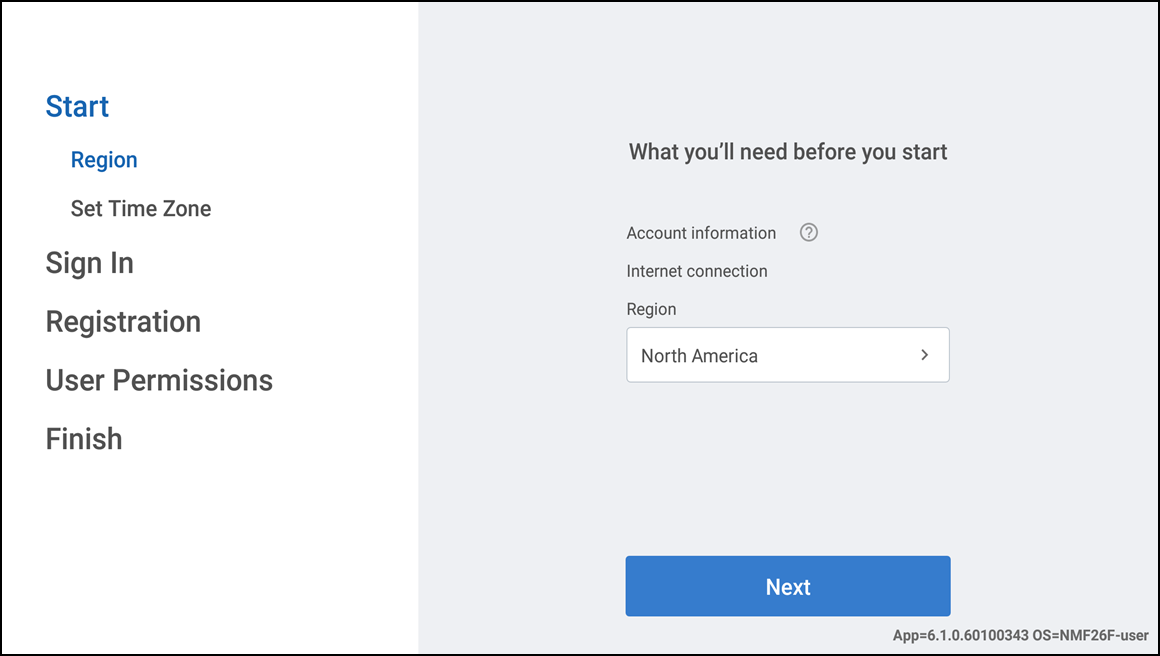
-
Edit the time, if required, and tap Next.
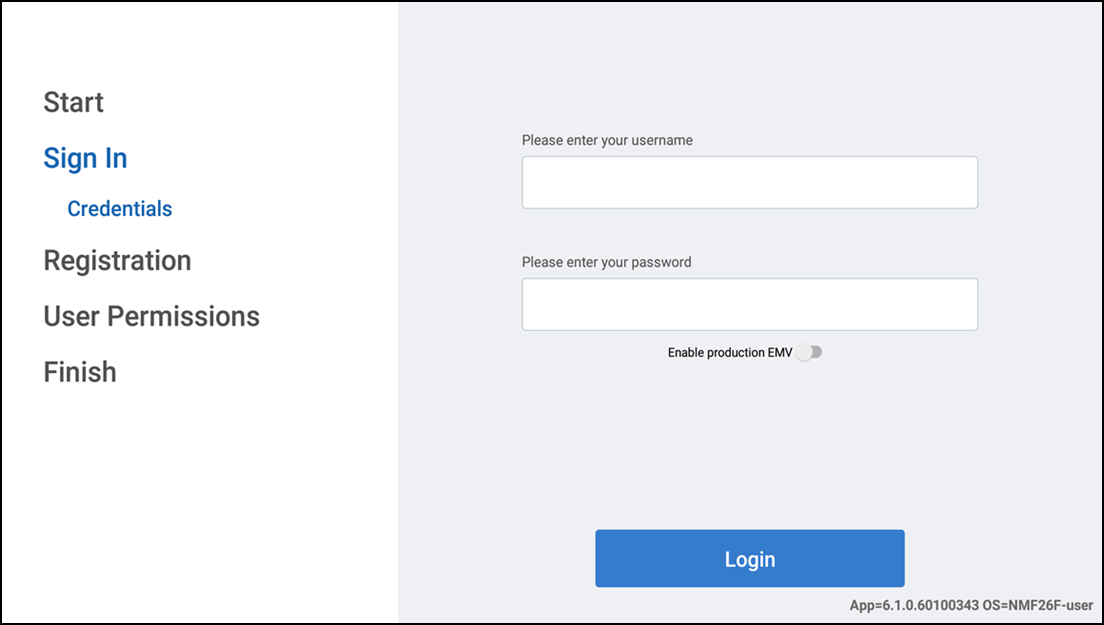
-
Enter your username and password registered in Back Office and tap Login.
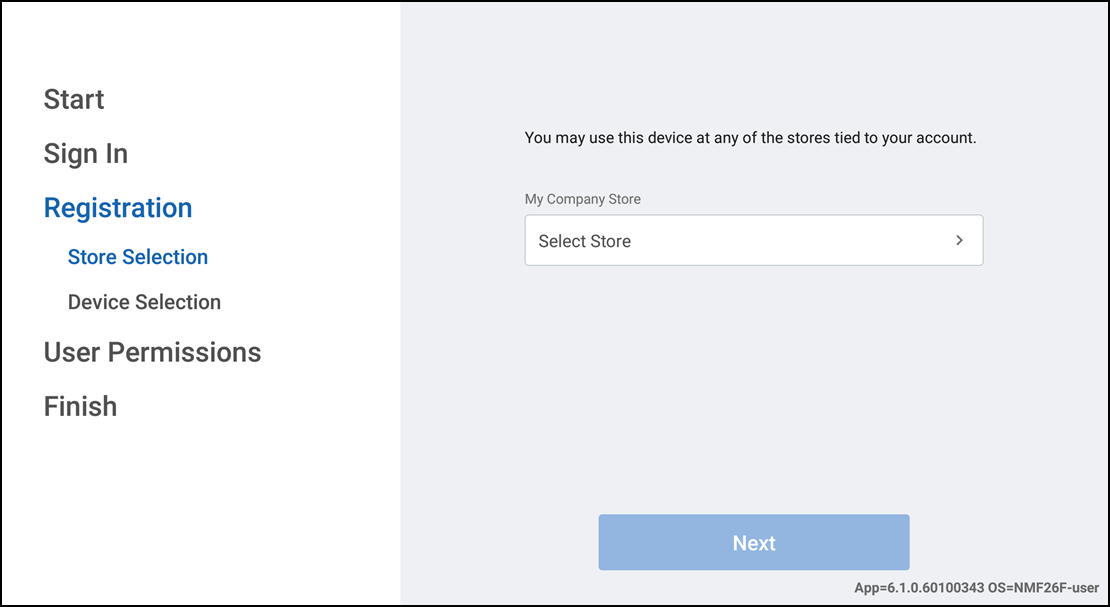
-
Tap Select Store option. The Select Store screen appears.
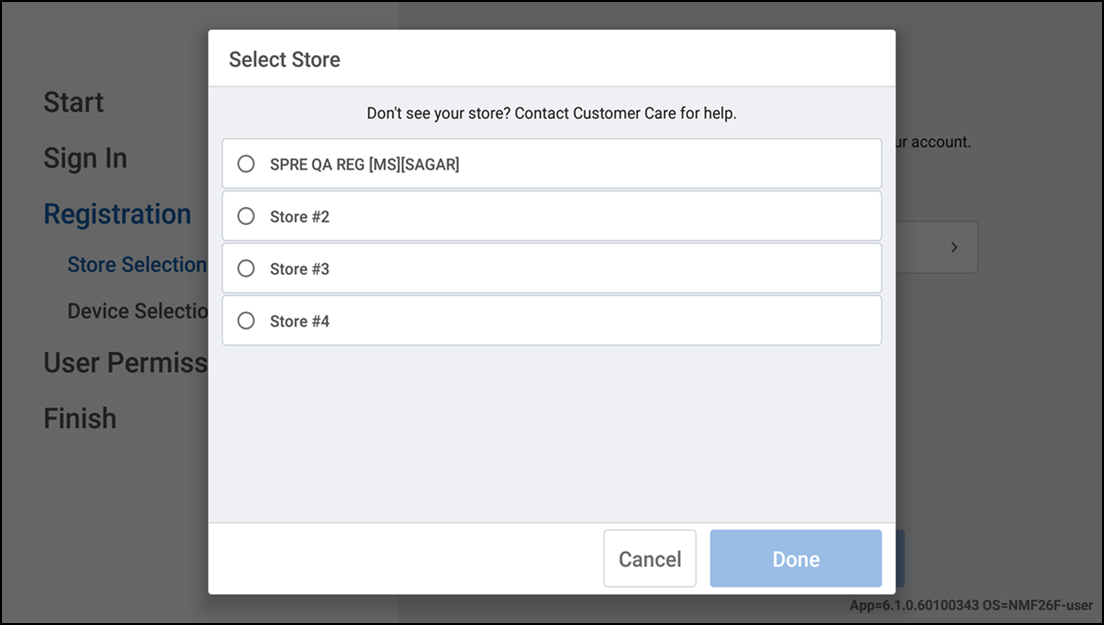
-
Select the store tied to your account and tap Done.
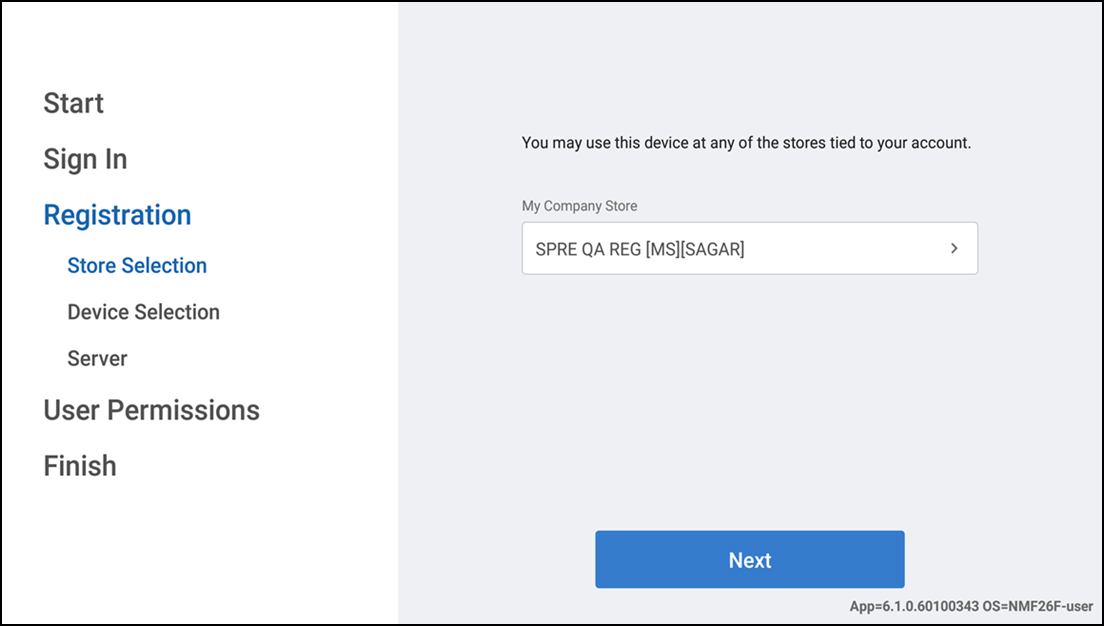
-
Tap Next.
-
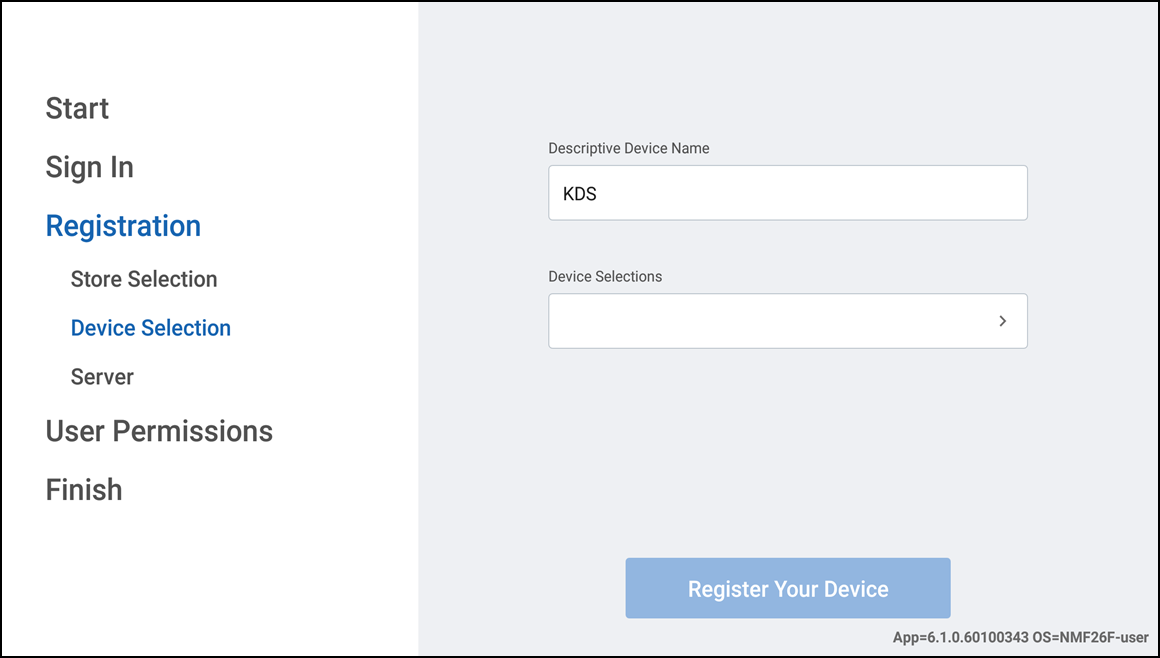
Enter a unique device name for Descriptive Device Name.
-
Tap Device Selections. The Device Selection screen appears.
-
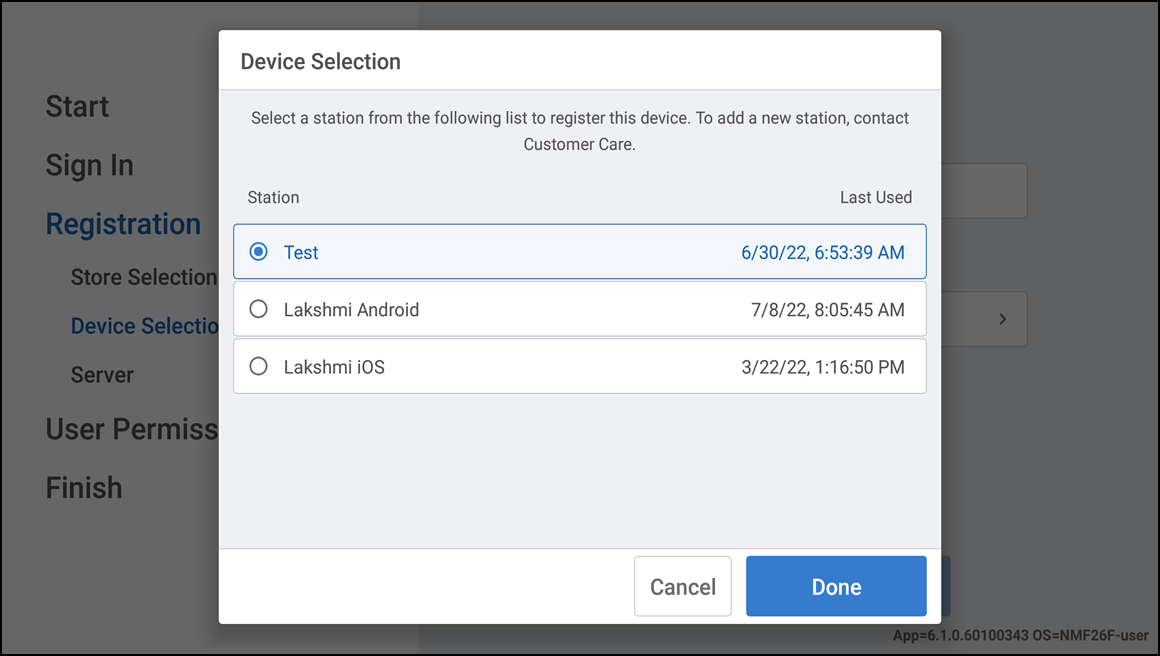
Choose a station where you wish to register the device and tap Done. POS and Kitchen stations are set in Back Office prior to registering your devices. Once complete, the display device shows order information based on the routing configuration for the registered station.
-
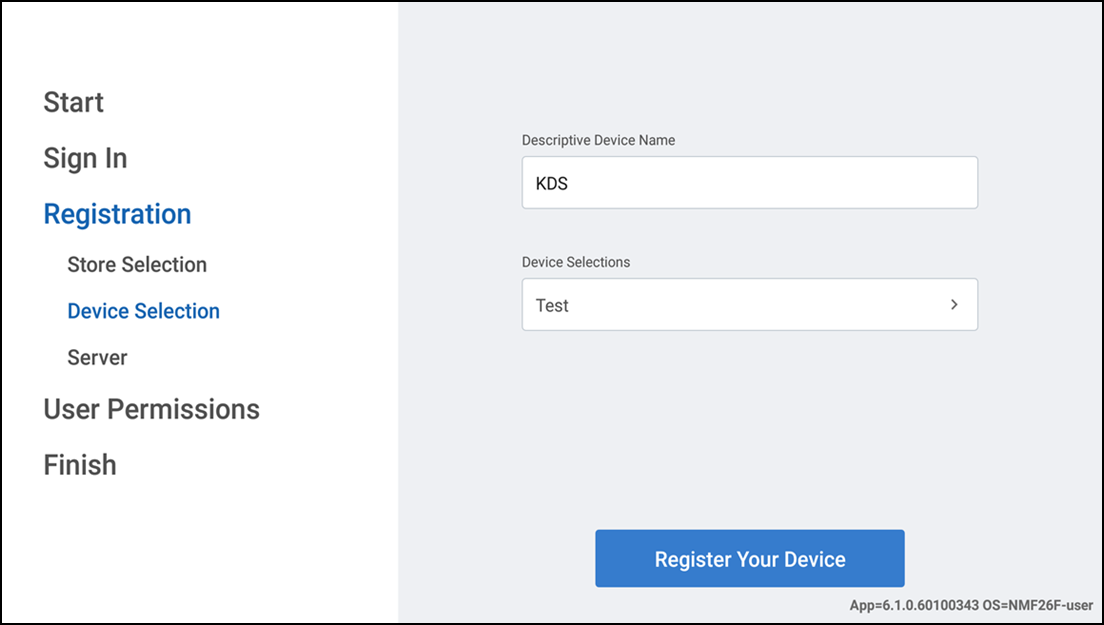
Tap Register Your Device.
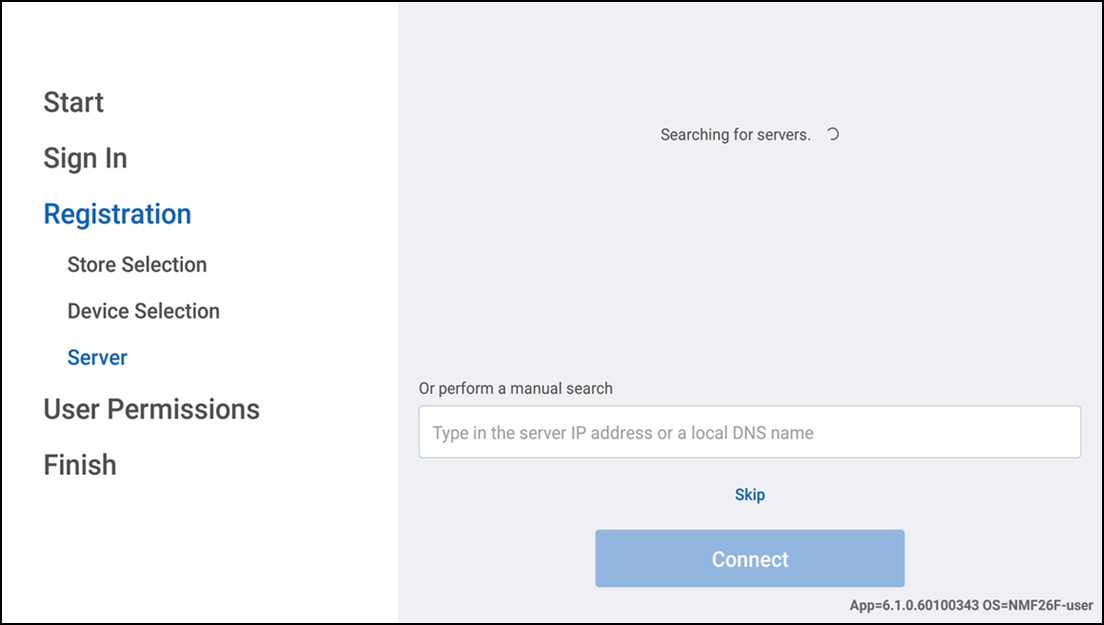
Note: If the customer does not want to register to the store server, he is able to skip and proceed to the next step.
-
Type the server IP address or local DNS name or let the app automatically fetch the server and tap Connect.
-
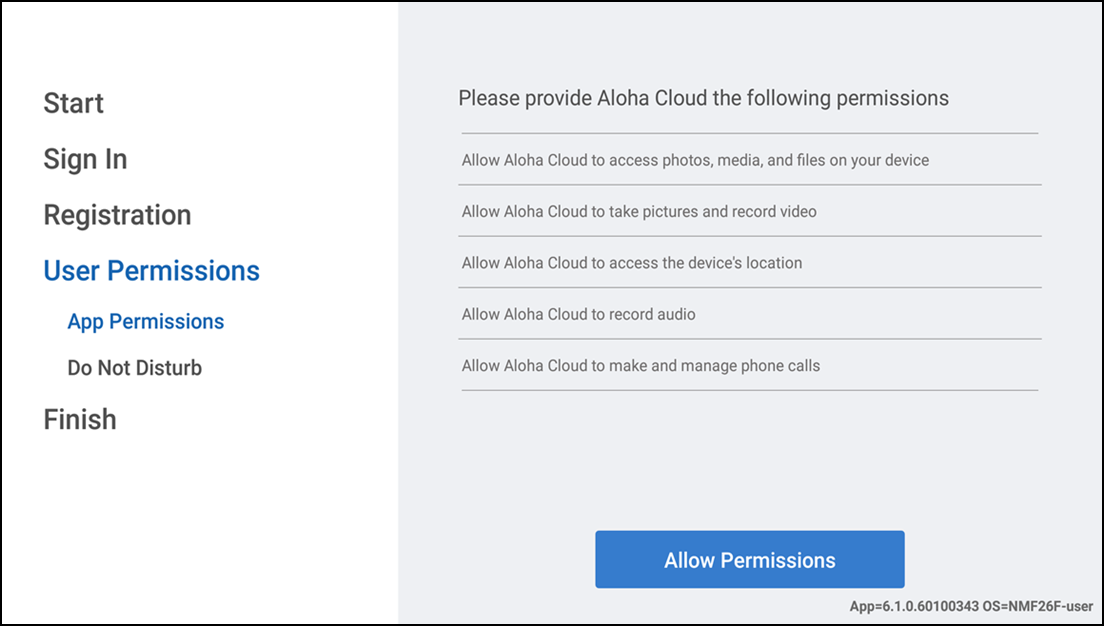
Tap Allow Permissions.
-
Tap Allow for each permission requested.
-
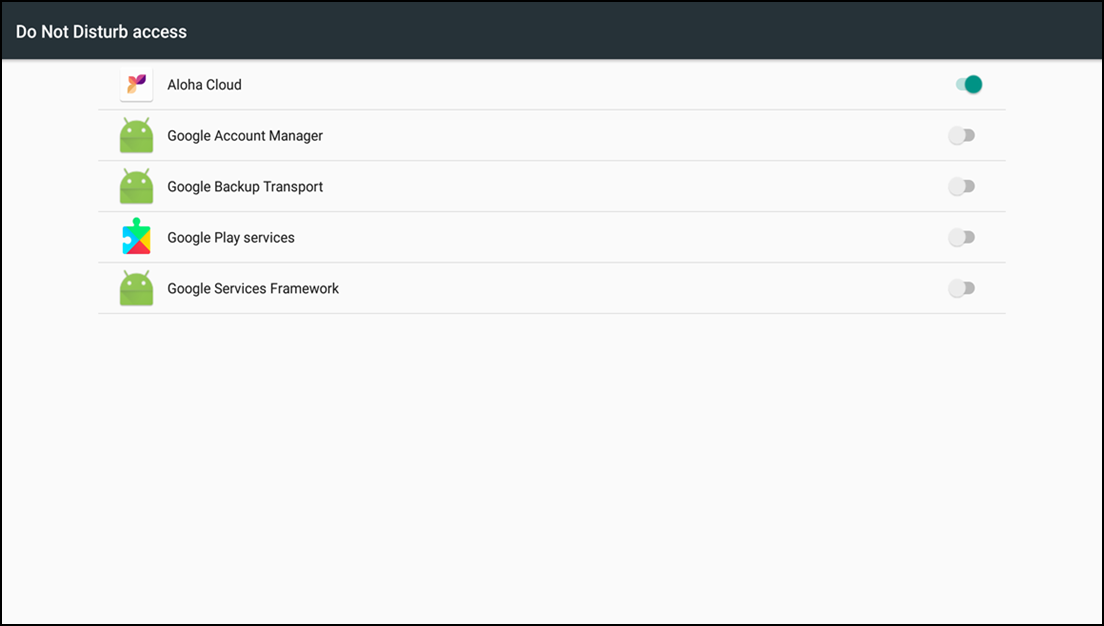
Enable Aloha Cloud.
-
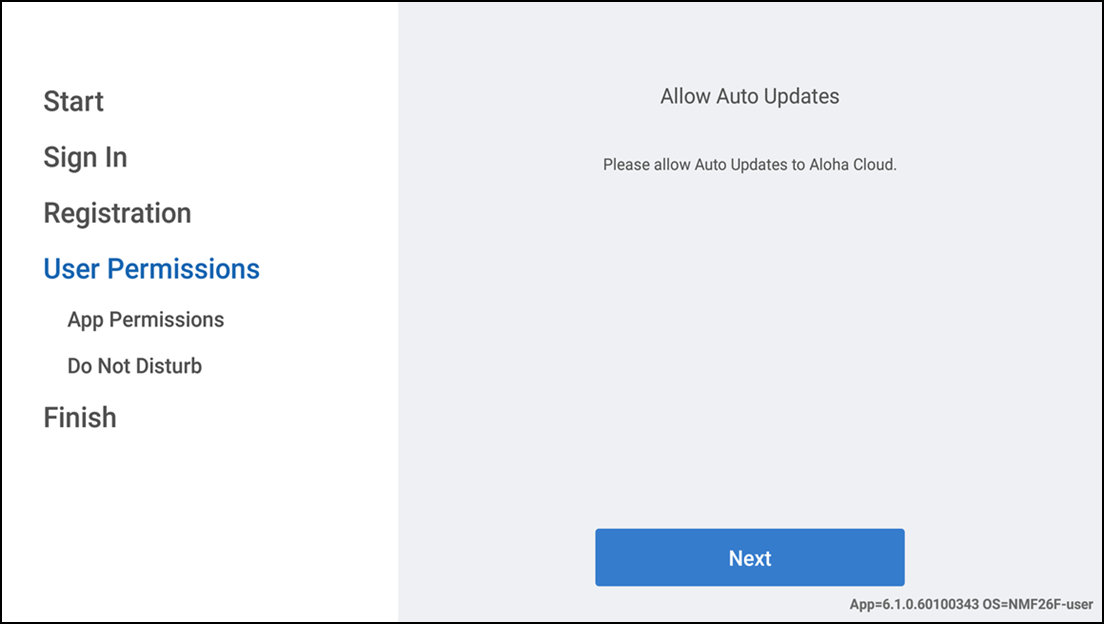
Tap Next.
-
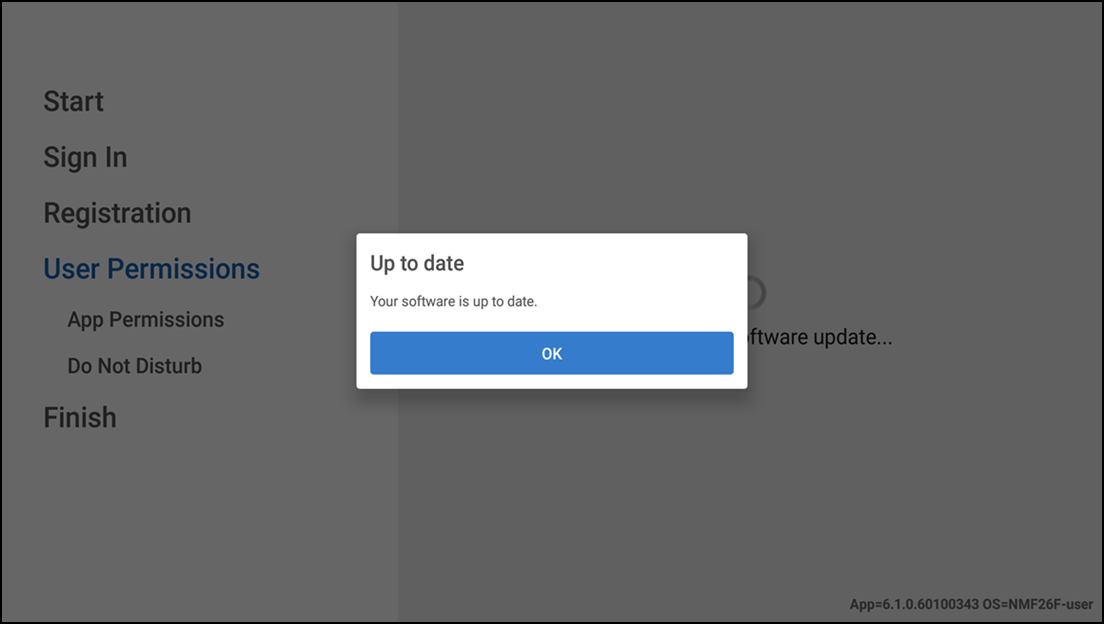
Tap OK.
-
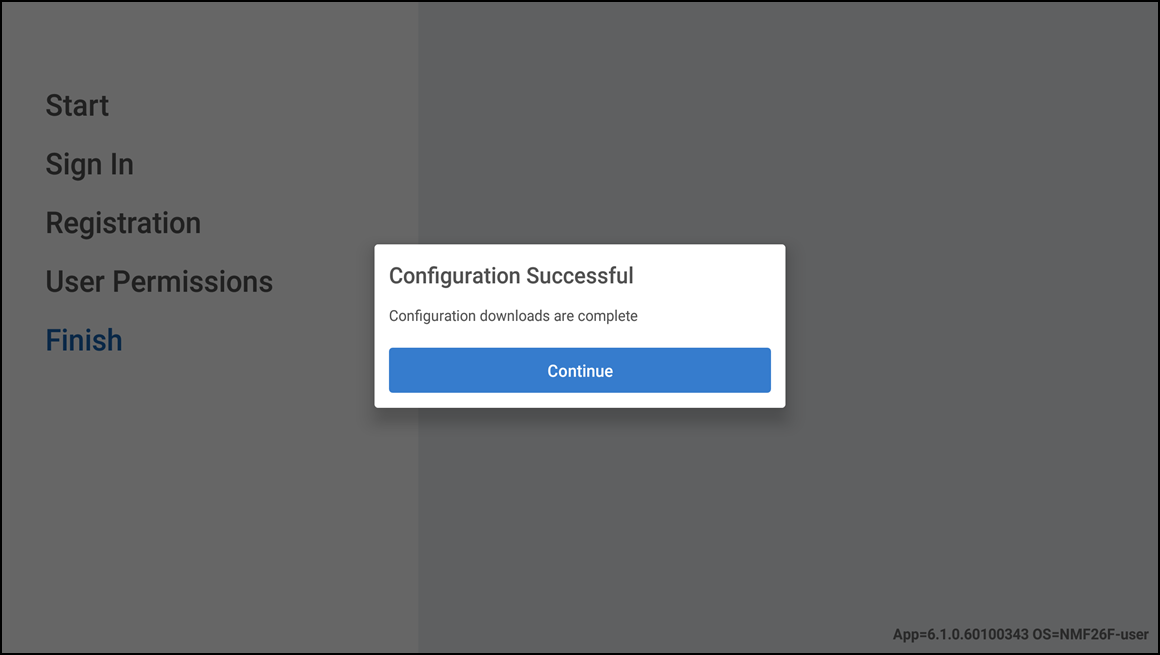
Tap Continue to complete the configuration.
-
Mount the devices in your display stands if required, and prepare for use.