Configuring menu imagery
Menu imagery is an important part of your Digital Ordering website and visually identifies the areas on the menu for consumers to select. When a consumer decides on an item to add to their order, they can see an image of the item they are ordering. All images are .png files and all dimensions discussed in this document are in pixels. Do not use spaces in the file names. Either omit spaces in the file name or insert underscores, such as 'FrenchFries.png' or 'French_Fries.png.'
You can associate images with the following elements:
- Submenus
- Menu items
- Web sales groups
- Modifier items
Below are the recommended dimensions for submenu, menu item, and modifier images. The ratios enable the image to scale for the responsive interface. Web sales groups, which contain additional choices for the consumer, use the same dimensions as menu items.
| Image Type | Dimensions | Aspect Ratio |
|---|---|---|
| Submenu Images | 528 x 396 | 4:3 |
| Menu Item Images | 528 x 396 | 4:3 |
| Modifier Images | 96 x 96 | 1:1 |
Uploading images to Web Admin
To begin, create all images with the specified dimensions and place them in a staging folder on your computer. Then upload the images in Web Admin for Digital Ordering to use. You can upload images individually or in bulk using a zip file.
To upload images to Web Admin:
- Create a staging directory to hold your images.
- In Web Admin, select Designs > Graphics and Content.
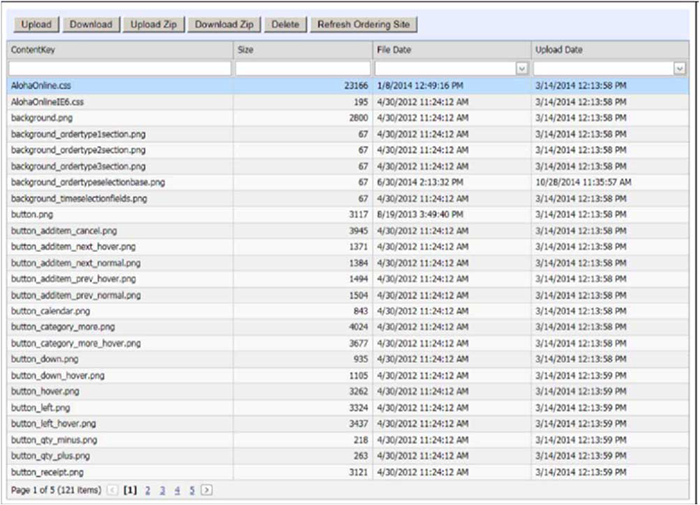
- Click Upload to upload a single file or click Upload Zip to upload a set of images in a zipped file.
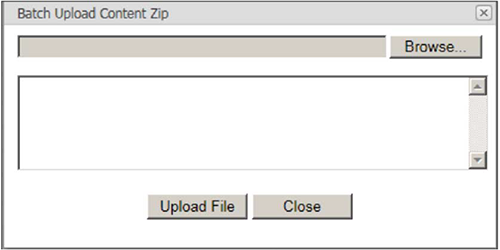
- Click Browse to navigate to the staging directory and select the zipped file or a single image to upload.
- Click Upload File to complete the upload and return to the Graphics and Content function.
- Click Refresh Ordering Site to populate the screen with the new content.
- Exit the Graphics and Content function.
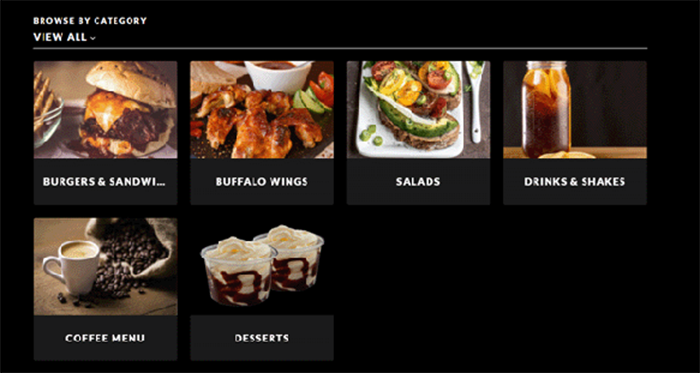
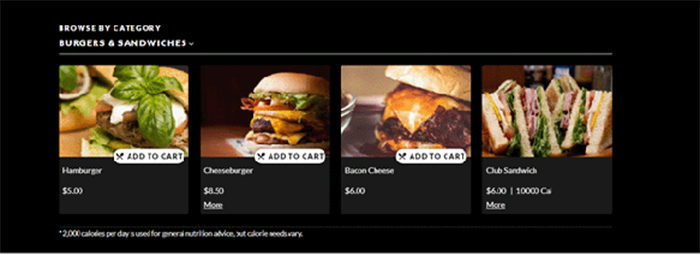
Associating a submenu with an image
Each menu contains submenus used by the consumer to drill down and locate menu items. Associate each submenu with an image to appear on the website. If you do not associate a submenu with an image, the submenu appears with a 'broken image' icon. The dimensions to use for a submenu image are 528 x 396.
To associate a submenu with an image:
- In Menu Configurator, select a submenu from the left and the properties window appears to the right.
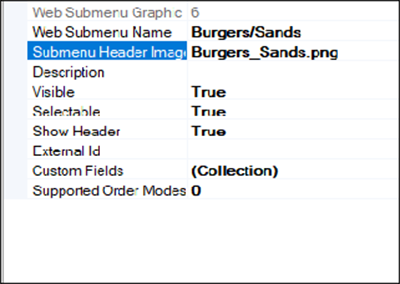
- Type the exact name of the image in 'Submenu Header Image.'
- Repeat this procedure for each submenu to associate with an image.
- Save and publish your menu.
Associating a menu item with an image
To make menu items visually attractive and identifiable to the consumer, associate menu items with an image. If you do not associate a menu item with an image, the image appears with a 'broken image' icon. The dimensions to use for a menu item image are 528 x 396.
To associate a menu item with an image:
- In Menu Configurator, select a menu item from the left and the properties window appears to the right.
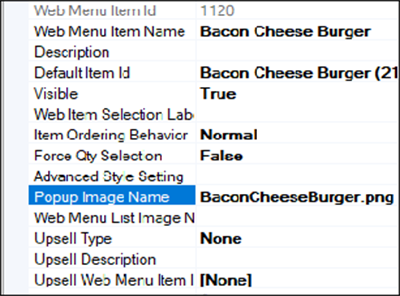
- Type the exact name of the image in 'Popup Image Name.'
- Repeat this procedure for each menu item to associate with an image.
- Save and publish your menu.
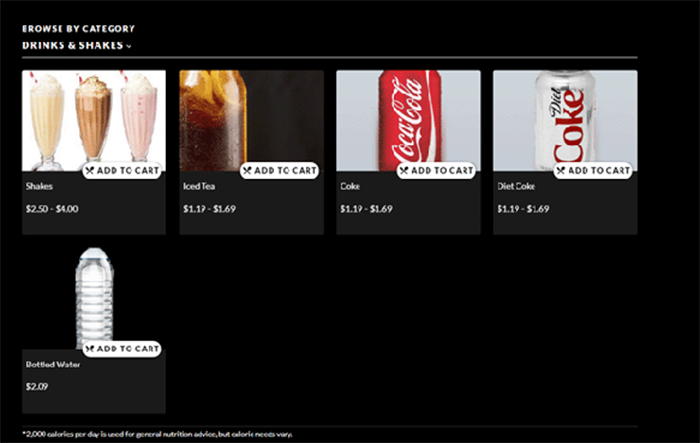
Associating a web sales group and web sales item with an image
When you have a web sales group with multiple web sales items in it, you can associate an image with the web sales group, as well as a unique image specific to each item within that group. If you do not provide an alternate image, the image for the web sales group appears for all items within it.
To configure this, you must enable 'developer mode' in Menu Configurator.
To enable developer mode for Menu Configurator:
- In Menu Configurator, select Help > About. The About Menu Configurator dialog box appears.
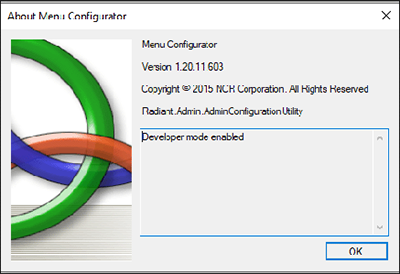
- Type aoldev in the text box and press Enter. The text does not appear as you type; however, 'Developer Mode Enabled' appears after you are done typing.
- Click OK.
- Exit and relaunch Menu Configurator.
In keeping with the Shakes example, Milkshakes is the web menu item and each individual shake flavor appears once the consumer selects Milkshakes.
To associate a web sales group with an image:
- In Menu Configurator, select the web sales group from the left and the properties window appears to the right.
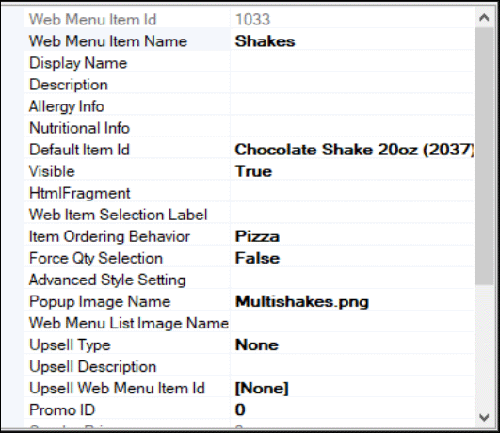
- Type the exact name of the image in 'Popup Image Name.'
- Repeat this procedure until you associate an image with each web sales group.
- Continue to the next procedure.
To continue with the example, when the consumer selects 'Milkshake,' a screen with individual shake flavors appears. You could have an image for each shake flavor; such as 'Chocolate Shake'...
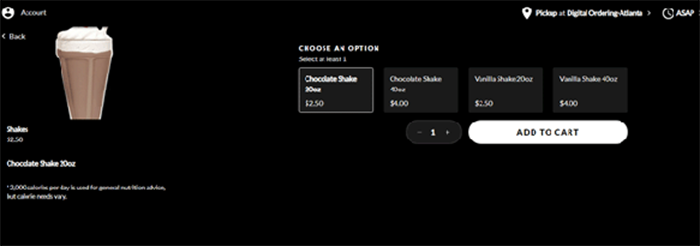
...and 'Vanilla Shake.'

The dimensions to use for a web sales item image are 528 x 396.
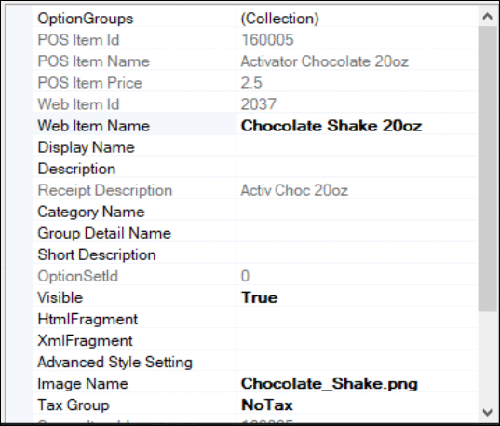
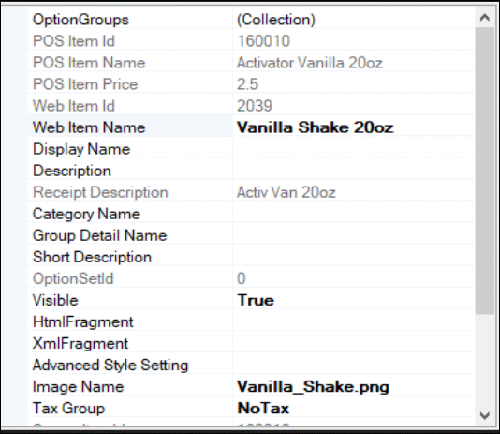
To associate a web sales item with an image:
- In Menu Configurator, select the web sales item from the left and the properties window appears to the right.
- Type the exact name of the image in 'Image Name.'
- Repeat this procedure until you associate an image with each web sales item appearing within each web sales group.
- Save and publish your menu.
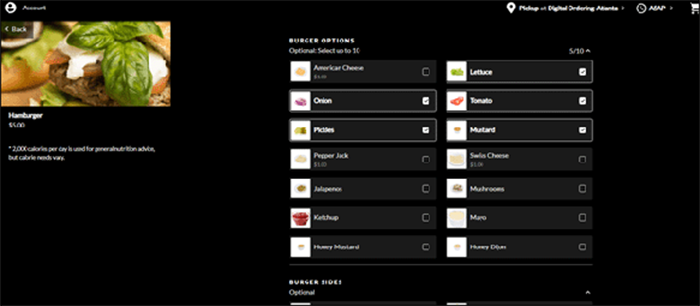
Associating an image with a modifier
To make modifiers visually attractive and identifiable to the consumer, associate a modifier with an image. If you do not associate a modifier with an image, a 'broken image' icon appears. The dimensions for a modifier image are 96 x 96.
To associate an image with a modifier:
- In Menu Configurator, select the modifier from the left and the properties window appears to the right.
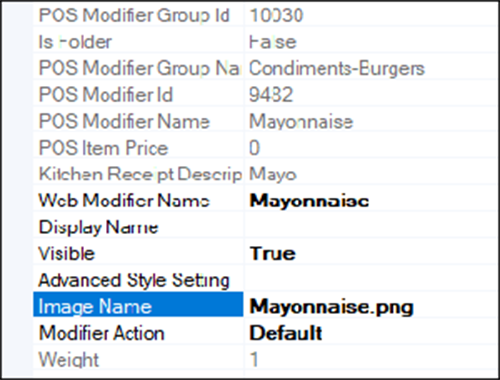
- Type the exact name of the image in 'Image Name.'
- Repeat this procedure for each modifier to associate with an image.
- Save and publish your menu.
Continue to "Configuring site colors."