Adding the enroll fingerprint button function to a panel
In Table Service, when you give Enroll Fingerprint access to a manager, the program automatically adds the button that initiates this activity to the appropriate FOH function screen. In Quick Service, you must select a panel and add the button to it manually. If an employee without sufficient permission, as defined in their assigned access level, selects this button, the Aloha POS system prompts for a manager password, so you can add the button anywhere in the FOH. Built in security features prevent unauthorized users from accessing the enroll fingerprint functionality.
-
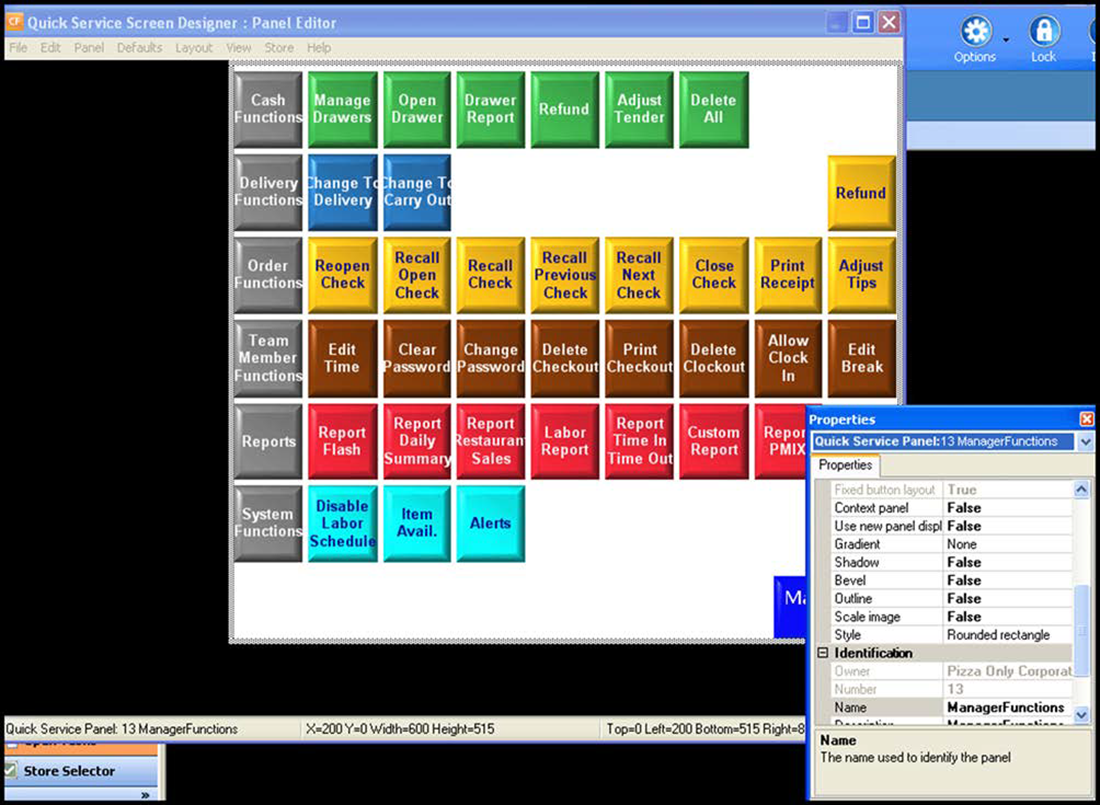
Access Maintenance > Screen Designer > Quick Service Screen Designer.
-
Select Work with Panels.
-
From the Panel menu, select Open Panel, to place a new button or edit an existing button.
-
If you are adding a new button, select Edit Panel from the Commands menu.
-
Select False for both 'Mark as template' and 'Fixed button layout.'
-
Right-click in the panel and select New Button.
-OR-
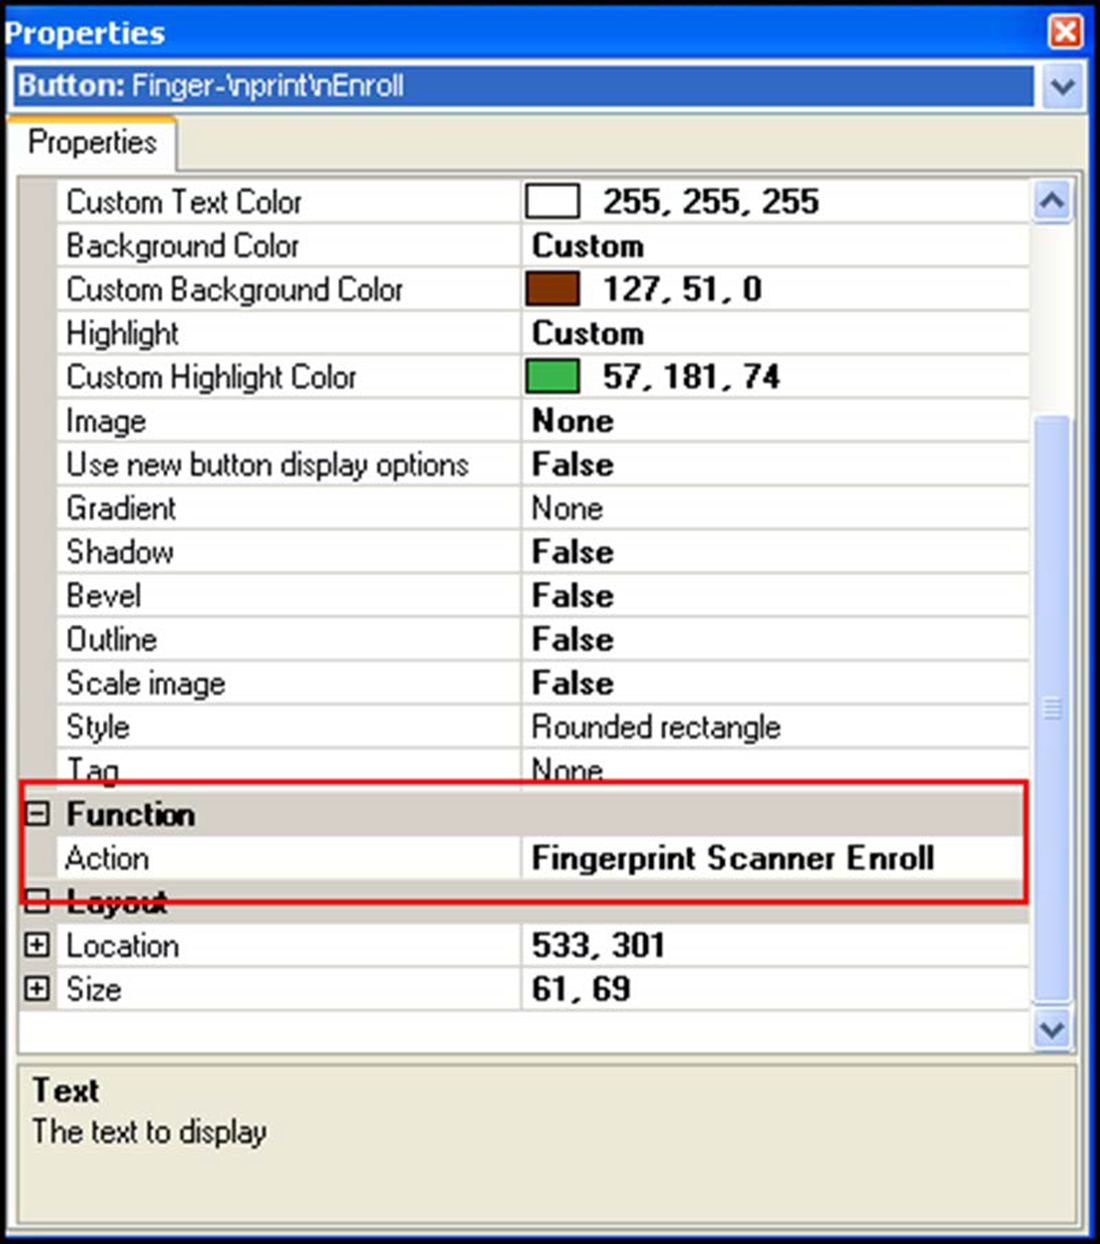
If you are editing an existing or unused button, select the button, and edit the button in the 'Properties' dialog box.
-
Under the 'Function' group bar, select Fingerprint Scanner Enroll from the 'Action' drop-down list.
-
Choose the appearance of the button by making selections in the 'Text,' 'Image,' and other options under the 'Appearance' group bar.
-
Click and drag the new button to the desired grid location, as required.
-
Click somewhere in the panel to view the panel Properties dialog box again.
-
Select True from the 'Mark as template' drop-down list, to lock all components of the panel in place.
-
Right-click the panel, select Save Panel from the drop-down list, and exit Panel Editor.
Continue to "Refreshing POS data."
After running a data refresh, return to the main "Fingerprint Scanner" page.